Electrical advice
How to change a light fitting
24 Nov 2025 • 7 minutes

Electrical advice
24 Nov 2025 • 7 minutes
It’s important to remember that any electrical work should be carried out by a skilled electrician, who has the right level of competence to undertake the work safely. By ensuring the right risk assessments are carried out hazards can be avoided and work can be completed as safely as possible
This all really depends on your experience and competence.
If you’ve tried changing a light bulb and found it hasn’t quite done the trick, then it might be best to contact an electrician. It could also be a light switch issue, in which case you could be looking at fixing a light switch or replacing a light switch altogether.
If you’re in the process of redecorating or renovating your home and you suspect a fault, again, you’re best to speak to an electrician before attempting anything yourself.
However, if you’re a competent DIYer then replacing the light fitting for redecorating shouldn’t be too much of a problem.
If you have any doubt when it comes to electrics, then you should call in a professional.
You should never attempt to do work on your electrics unless you know for sure that the circuit is electrically dead – legally, only competent individuals should carry out this type of work.
If you’re feeling capable of doing this job yourself, you should make sure you’ve got the right equipment.
Here’s a list of things you’re likely to need:
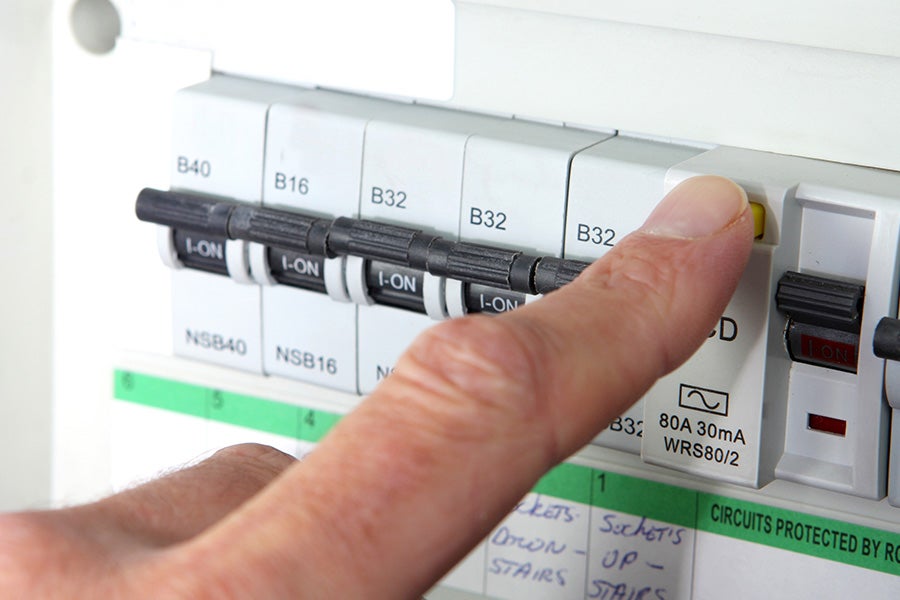
Safety first – make sure your power is turned off at the mains.
When it comes to electrical safety, you should never take any risks, so make sure to turn off your electricity at the fuse box. Identify the circuit you'll be working on and ensure this is turned off and a suitable measure is in place to prevent it from being accidentally turned back on while you’re working.
Before you undertake any work, always ensure that the circuit is dead. The best way to check this is by using a socket or voltage tester (if you have one) which will confirm if your circuits are safe.
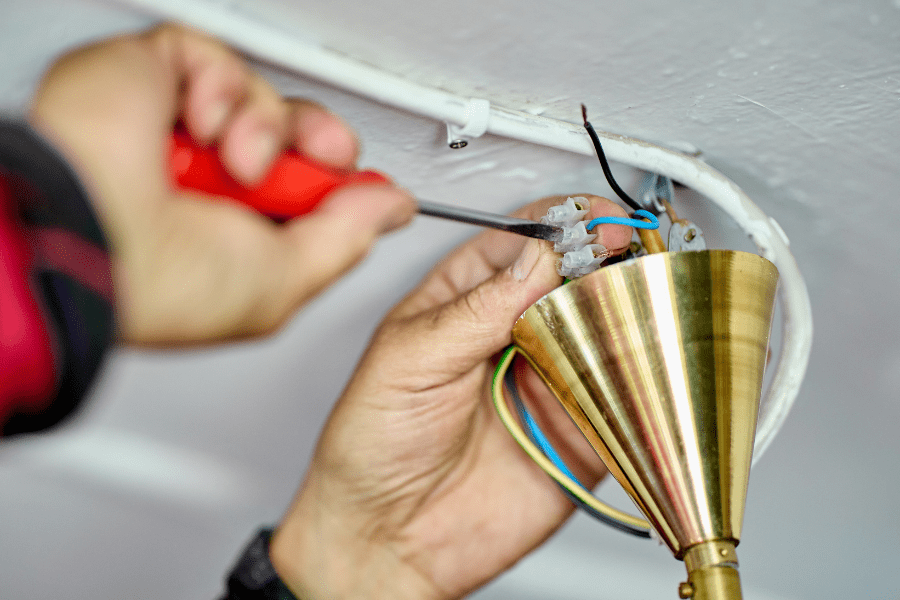
Now you’re ready to safely remove the old light fixture.
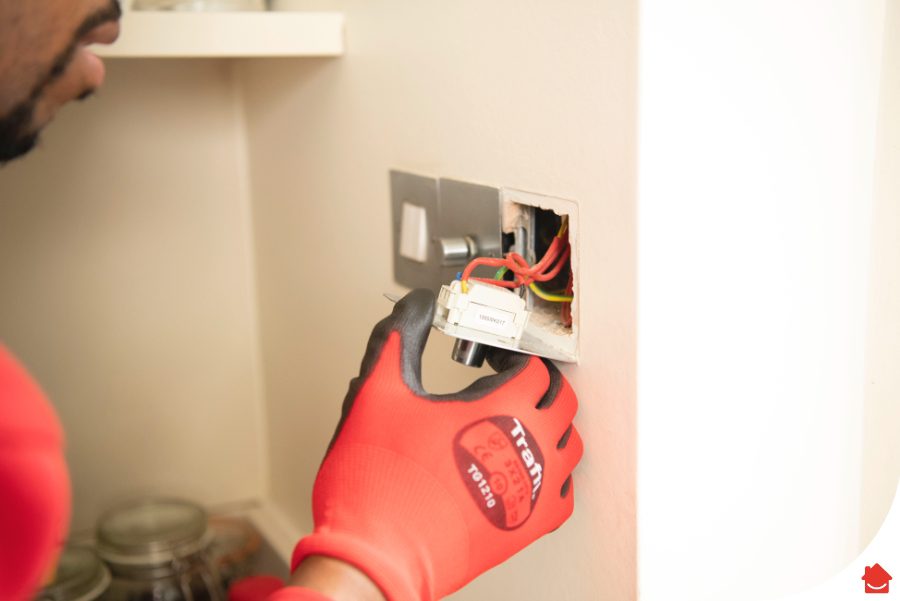
Firstly, you’ll need to remove the wires from your existing light fitting. There is a chance that they could be mounted within a terminal box.
At this point, it’s a good idea to take a picture of the old fitting and the position of the wires so you can keep note of where each wire goes.
Use your electrical screwdriver to loosen the small screws in the terminal that are connecting the old light fitting to your mains wires.
Next, use your screwdriver to unscrew the base of the old fitting from your wall or ceiling, which should leave you looking at the existing wires.
One of the key parts to changing your old light fitting is preparing the new one.
The old light fitting should have been attached to a solid part of the building e.g. a joist. You can double-check this if you have a multi-purpose detector you can use around the wall or ceiling.
Your new fitting should have handy sticker labels on them to show where to put each wire.
This is usually shown by:
E – Earth
L – Live
N – Neutral
Not all light fittings will have an earth wire. If this is the case for you, find out what to do with the earth wire from your wall or ceiling here.
If you’re using the same or a similar fitting, you might be lucky and be able to line up the holes that are already there to attach the light mounting bracket to the wall or ceiling.
If not, then take the mounting bracket for the new fitting to use as a template to mark out the new holes. You should then be able to screw your mounting bracket to your wall or ceiling.
Before you fix the new light fitting to the bracket, you need to make sure that your existing wiring is not damaged or too long for your new fitting.
If you need to, you can use your wire cutters to cut the ends off the existing wiring and strip back the end of the insulation – you should expose around half an inch (15 mm) of new copper wire.
Following the instructions for your new light fitting and using the photo you took earlier, you can connect the existing wires to the new light fitting using the terminal box and your electric screwdriver. But first a note on wiring safety:
Always check the manufacturer’s instructions before you fit a new light, as different makes and models could have different fitting requirements.
However, as a very basic general rule, while you’re mounting your new light fitting, if your wall/ceiling cable doesn’t reach the terminals of the new light without straining, never ever pull it. In this case contact a qualified electrician.
If your wiring is pre-2004, these are the wires you’ll find in your ceiling or wall:
(L) Live = Red
(N) Neutral = Black
(E) Earth = Green and Yellow
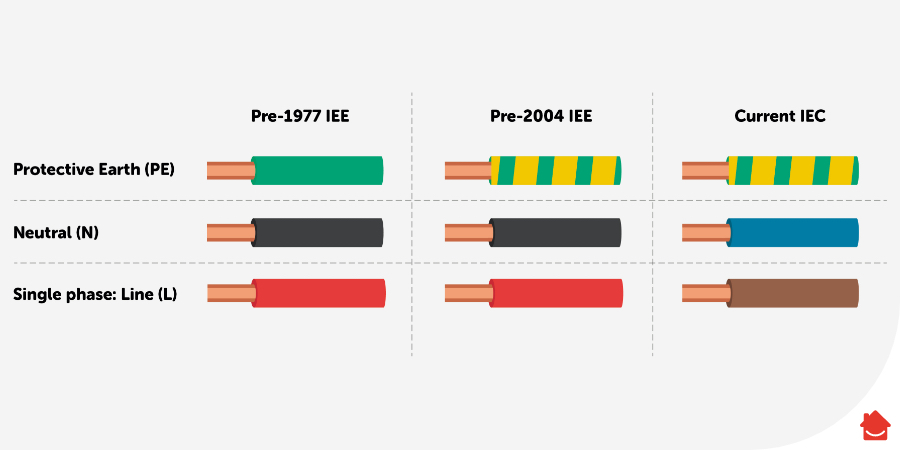 If your wiring was done after 2004, the wires you’ll find are:
(L) Live = Brown
(N) Neutral = Blue
(E) Earth = Green and Yellow
Failure to correctly wire up the light fitting could cause electrocution or fire, if you’re unsure as to the next steps contact a competent electrician
At this stage you should make sure all the connections are correctly located in the terminal and that the terminal screws are tight. Any wires should be packed neatly into the terminal box before you close it and safely put the connections away.
Once you’ve done that you can go ahead and put in any bulbs and attach any coverings.
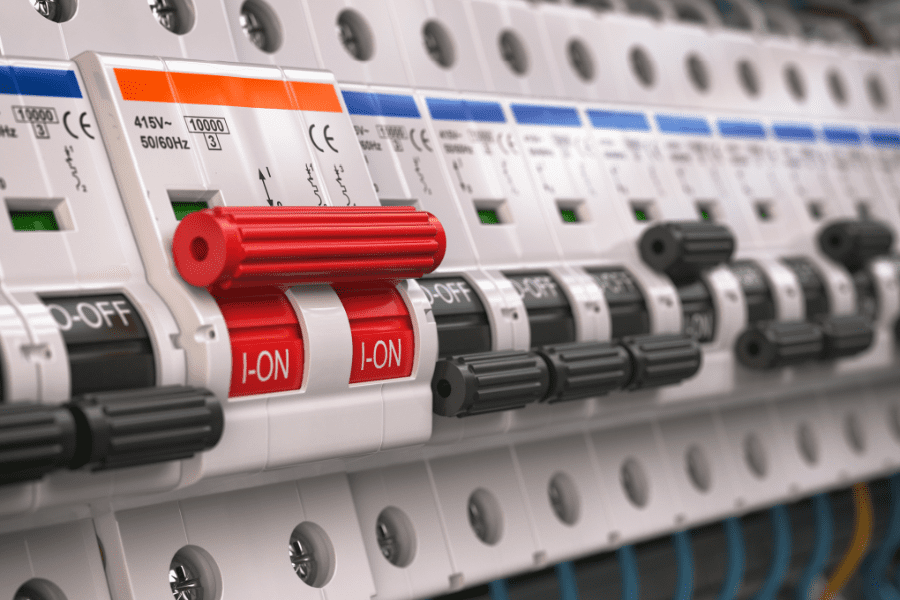
Ensure that any light switches are in the off position, return to the fuse board and switch on the circuit. Return to the light fitting you have just installed and turn on the light switch. The light fitting should now illuminate the room.
The new light should not flicker and the bulbs should be all the same brightness.
If the light flickers or the bulbs are not equally bright, turn off the light switch and call an electrician.

It’s common for light fittings to come without a ground/earth wire fitted. If the light fitting you have bought is plastic, ceramic or another non-conductive material, there will be no need for an earth wire.
You may find that some light fittings are double insulated. You’ll know this from the symbol on the light fitting itself or the packaging. The symbol looks like a square within a square, meaning double earth.
Neutral wires can be:
Live wires can be:
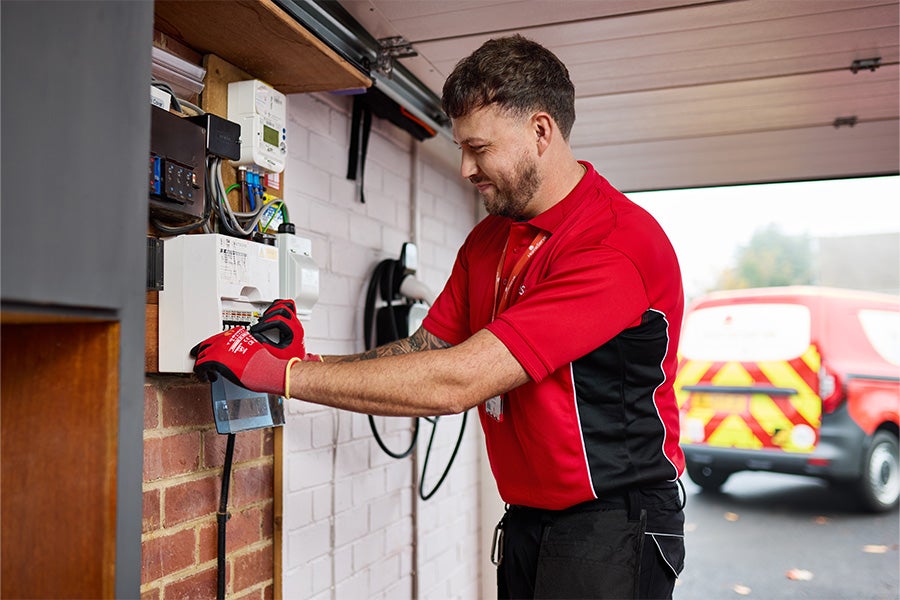
If you’re looking for peace of mind when it comes to electrics, you may want to consider HomeServe Electrical Insurance and Breakdown Cover.
With cover for wiring, fusebox breakdowns and broken sockets, our Home Experts will help make sure that unexpected electrical problems don’t leave you in the dark.
Our help & advice articles cover Plumbing, Home heating, Electrical, Energy-saving and Home maintenance.