HomeServe USA
 HomeServe Canada
 HomeServe Spain
 HomeServe France
Electrical advice
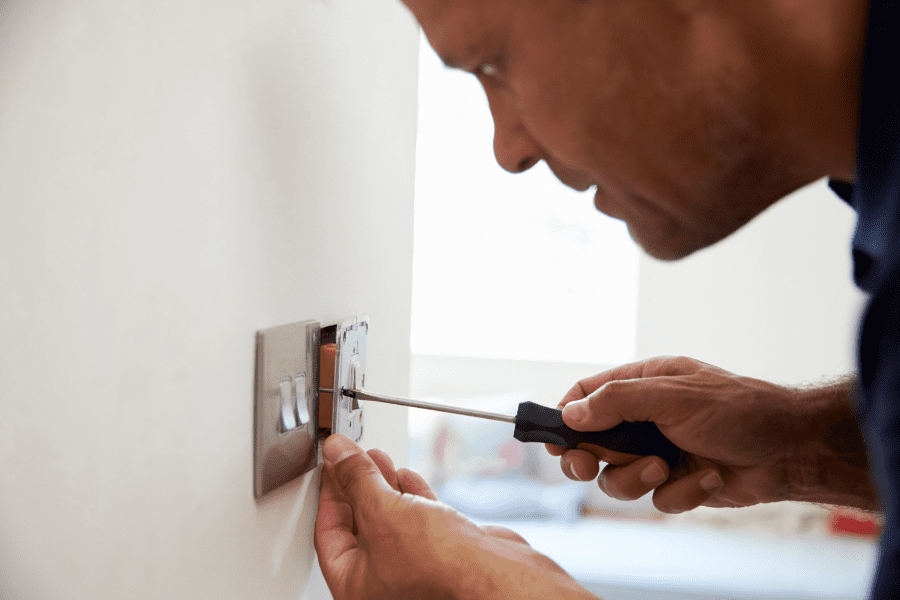
How to replace a light switch
22 Apr 2021 • 13 minutes
Electrical advice
22 Apr 2021 • 13 minutes
This might seem like a silly question, but sometimes the problem really is as simple as a blown light bulb. So, before you go delving into potentially dangerous electrical circuits, try replacing the light bulb first.
There are a number of things that can indicate a broken light switch, but some are easier to notice than others. For example, if your light switch doesn’t turn on or off—no matter how many times you flick it, or turn the dimmer switch—it’s likely that your switch is faulty and needs replacing.
It’s vital to be safe around electricity. You must make sure that you isolate the circuit you’re working with correctly, and triple-check that the circuit is dead before you attempt the replacement.
If you don’t know what you’re doing, there’s no question that you should get a qualified electrician to do this task. Accidents with mains voltage electricity can be deadly. It’s not worth taking any amount of risk.
If your house is wired correctly, the lighting circuitry should all be isolated from a single point. Before touching your light switches, here are some simple steps to safely isolate your lighting circuit:
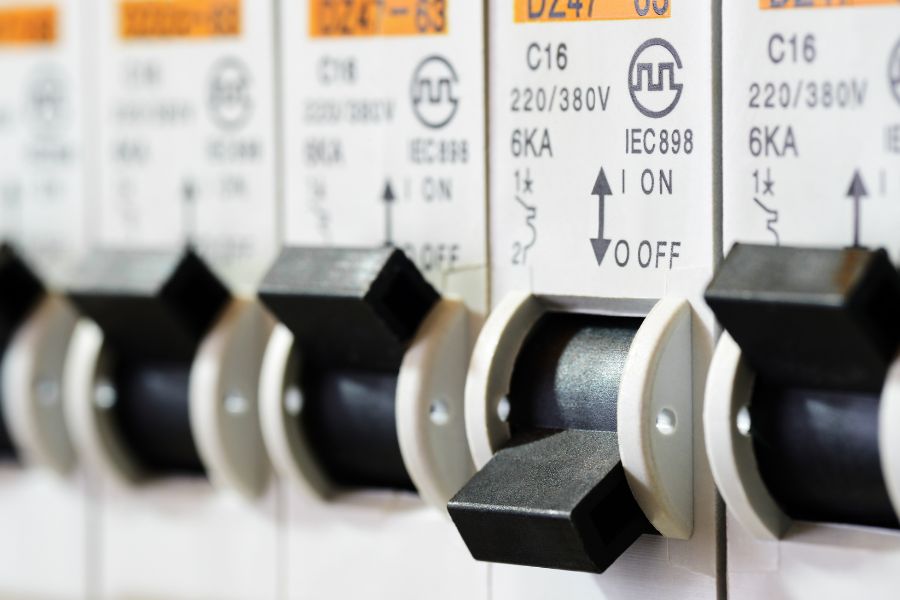
| 1. Cut your electricity supply | Go to your fuse box or consumer unit and switch off the circuit breaker on the circuit you intend to work on. This could be ‘lighting’, ‘downstairs lighting’, or similar. It’s best to do this while your lights are on so you can see if they turn off. |
| 2. Check if the lights switch off | If your lights do switch off, this is an indication that you have successfully isolated the circuit. |
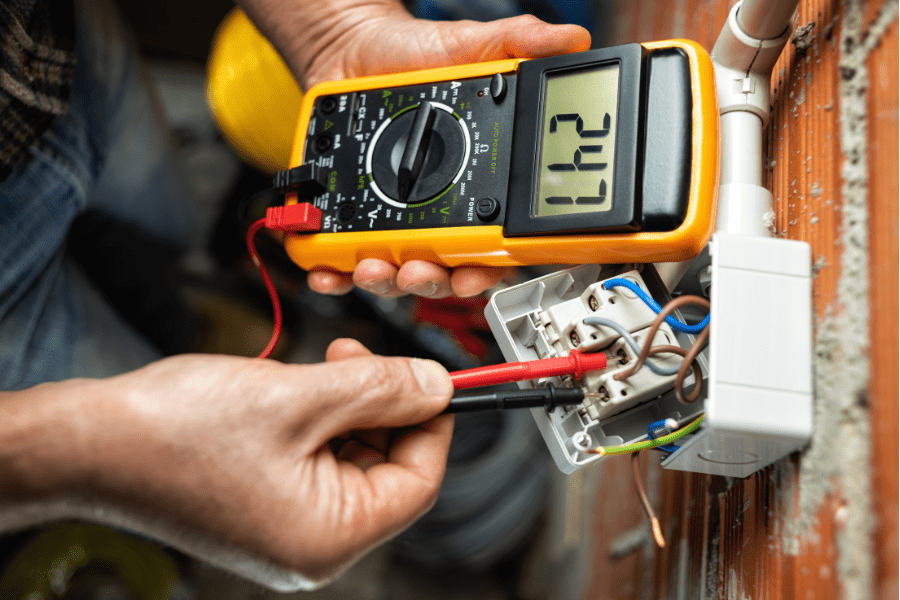
| 3. Test your lighting | Using an approved voltage tester, you can now test your lighting. This will tell you for certain that the lighting circuit you intend to work on is dead and safe to touch. |
If you want to be absolutely certain, you can switch off the big red circuit breaker and cut the mains electricity supply to your whole house. This may inconvenience the rest of your household, however, and you will have to reset all of your clocks and appliances when you switch it back on.
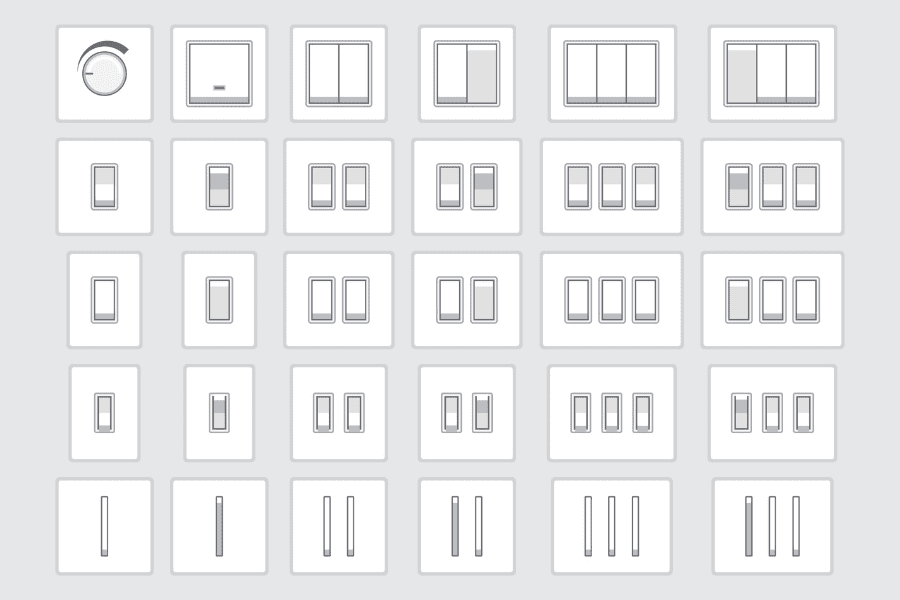
Light switches come in a variety of shapes and sizes, and with a variety of different functions. Some are finished with purely decorative effects. Let’s take a look at some of the light switch types.
Wall-mounted light switch fittings can contain one, two, three, or even more individual switches or ‘gangs’, which allow you to control different light fittings from one switch.
A simple light switch with only one button on it is called a 1 gang switch—this is what the number on the faceplate refers to. A 2 gang has two buttons and controls two lighting functions, and so on.
You will likely need different light switches in different areas of your house. A 1 gang switch will be fine in most cases, but there are other options to consider. For example, a dimmer switch in your lounge may be perfect for weekend movie nights, but if you have a large open space, you may want a 2 or 3 gang switch to control the different areas. Have a look online at the available switches, and tailor your choices to your home.
From functional white plastic to stylish metallic finishes, there’s a plethora of options available. Dimmers let you raise and lower the light level – and may have a combined or separate on/ off and dimming control, so you don’t have to readjust the light level every time you turn on the light. They’re wired just like a standard switch.
Because electricity and water can be a deadly combination, only ceiling-mounted pull-cord switches are permitted to be installed in bathrooms and/ or shower rooms, as per UK building regulations. Some opt to have a regular light switch fitted just outside the room.
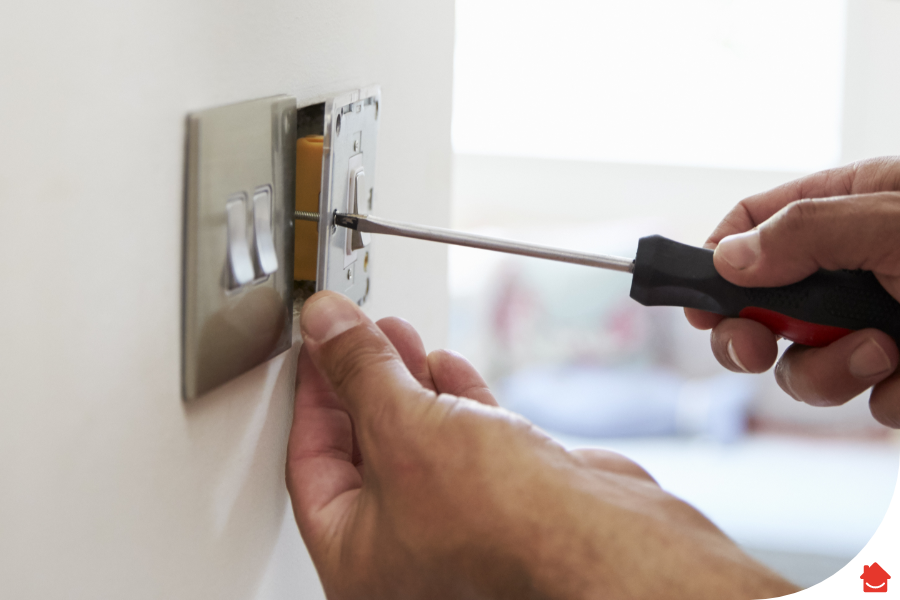
Now that you know how to safely earth your lighting circuit, you can learn how to replace your light switch. This could be plastic for plastic, metal for metal, or a switch between the two. If your switch is broken, and you think it’s repairable, take a look at our handy guide on how to fix a broken light switch.
Before you start, you’ll need to gather some tools:
Warning: If you’re switching from a plastic light switch faceplate to a metal faceplate, you must follow the specific steps in the section titled ‘How to earth a metal light switch’.
Follow these step-by-step instructions to replace your light switch:
If there’s a fault in any electrical installation, including a loose wire in a light switch, you are at risk of receiving an electric shock if you touch a live metal component. Electricity is negatively charged, and is attracted to the positive charge in the Earth. It will always find the quickest path to the ground—in this case, through your body.
‘Earthing’ is done by electricians to prevent this by providing a path, or protective conductor, for a fault current to flow to earth. It also causes the protective device—either your circuit-breaker or fuse—to switch off the electric current to the circuit that has the fault.
For example, if there’s a problem with your light switch, the fault current flows to earth through the protective earthing conductors. Your protective fuse or circuit-breaker also switches off the electrical supply to the light switch—this is known as ‘tripping’ the switch. The light switch is now safe from electrocuting anyone who touches it. You should investigate the reason for the tripped switch immediately.
The most common light switch combination is a metal mounting box—or ‘back box’—inside the wall, connected to a plastic faceplate. In this case, the earth core or cores must be connected to the earthing terminal of the back box. If this is your current set-up and you plan to keep a plastic faceplate, you don’t need to do anything.
If, however, you’re switching to a metal faceplate you must run the main earth core to the faceplate, not the back box.
Warning: Some older lighting circuits may not include an earthing wire. If you find this is the case, you will not be able to fit a metal light switch because it would be extremely dangerous.
Provided your lighting circuit includes an earthing wire, take the following steps to earth your metal light switch.
The function of this is to provide an earthed path from the faceplate to the back box. This is done already by the metal screws you use to fix the metal faceplate to the wall, so it is not a necessity, but it’s still considered good practice by most electricians.
Motion sensor switches are more advanced than general light switches, and are used more often in offices and warehouses. A motion sensor switch will automatically turn on the lights whenever it detects motion. This can also be handy in a home—for example, if you walk into the garage carrying something heavy, or a dark utility room with armfuls of laundry and can’t get to the switch.
If a motion sensor switch sounds like something you would find useful, the first thing you need to do is check you have the right wiring. Motion sensing switches require a neutral wire attached to them.
To check whether your lighting circuit contains a neutral wire, first isolate the circuit, or turn off your mains electricity at the red switch in your consumer unit.
A neutral wire will be either blue or black, depending on how old your lighting circuit is, and will most probably not be connected to the terminal. Please bear in mind that your wiring may not be correctly colour coded, so carefully check the wires, and the terminals they’re connected to on the current faceplate and back box and make sure you’re certain which wires are which.
If there’s a neutral wire, hooray! You can go out and buy a motion sensor switch and fit it using the following step-by-step guide. If not, you must make sure that the switch you buy doesn’t require a neutral wire. If this isn’t possible, a motion sensor won’t be feasible for you unless you have your electrics rewired by a certified electrician.
In order to replace your switch, you first need to know which type of switch you currently have. Is it a 1, 2, or 3 gang switch? Your new motion sensor switch will need to match your old switch for it to be wired correctly and safely.
Once you have determined whether your lighting circuit has a neutral wire, and found a suitable motion sensor switch, you’re ready to install it. Please note: follow the motion sensor switch installation instructions exactly. Our guide should only be used as a back-up reference.
When electricals like lighting and fuse boxes unexpectedly break down, they can bring a busy household to a grinding halt. With our Electrical Emergency and Breakdown cover, your wiring, broken sockets and any fuse boxes are protected in case of any breakdowns that might occur. With protection in place our Home Experts will help make sure that unexpected electrical problems don’t leave you eating dinner in the dark.
Replacing a light switch is a simple enough task that does not need assistance from an electrical professional. You do need to know the basics—how to safely isolate the circuit, and which tools to use—and the rest is easy. If you’re planning on switching to metal faceplates, you’ll need to earth your new faceplate which does require more skill, but if you’re a competent DIYer it’s a pretty simple job.
In the UK if you pay an electrician to replace a broken light switch, you can expect to pay around £35-£55. If the job is more complicated, however, due to faulty wiring or similar, you could be looking at double or triple that amount.
If you’re simply replacing a broken light switch like for like, it shouldn’t take longer than 30 minutes, providing you’ve got the correct replacement switch, the right tools and you follow the correct electrical safety procedures.
No, it’s extremely dangerous to work on any electrical lighting, wiring, sockets or appliances without first isolating the circuit you’re working on. If you’re in any doubt about electrical safety, call a certified electrician.
Our help & advice articles cover Plumbing, Home heating, Electrical, Energy-saving and Home maintenance.