Electrical advice
How to replace a thermostat
01 Apr 2021 • 6 minutes
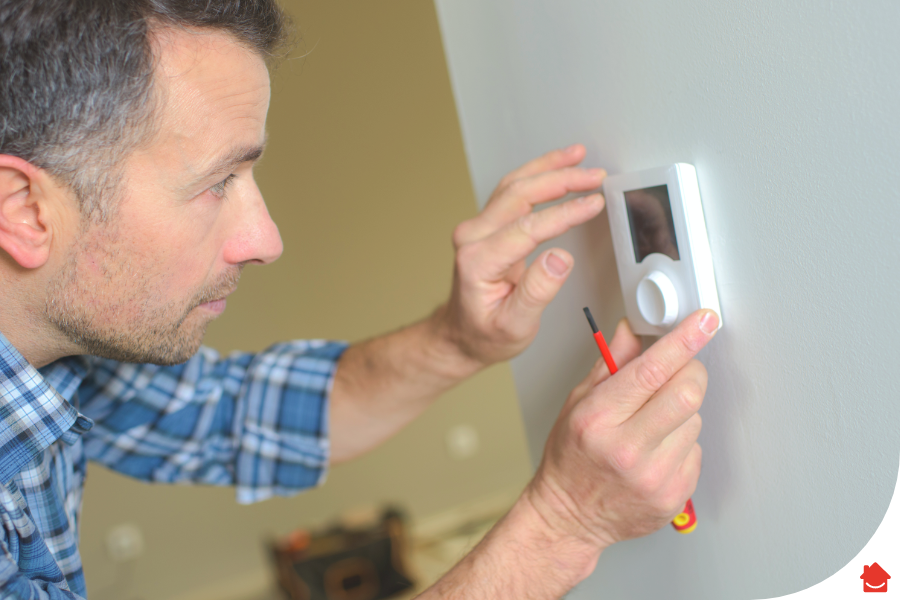
If your current thermostat has been chugging away for years, it’s more than likely inefficient, and costly compared to today’s models. This guide will show you step-by-step how you can safely replace an old model with a new, highly efficient digital thermostat.
WARNING: Do not attempt to replace your old thermostat with a ‘smart’ thermostat yourself. The voltage is not compatible, and the process is too complex and dangerous to be attempted by a DIYer.
Even for a moderately capable DIYer, changing a thermostat can be a fairly challenging job. It requires second-to-none electrical safety. When following this guide, please also refer to the instructions for your particular thermostat, and incorporate your boiler manual too.
The first thing you need to do before disconnecting your old thermostat—before even buying your new one—is to check your wiring set-up for compatibility.
Your wiring may need to be altered or added to in order to fit a new thermostat. It is also essential that you understand the voltage supplying your old thermostat. It was probably fitted with a 240v power supply along with a switched live, however it could be 24 volts! If you make a wrong connection this could seriously damage your boiler.
If you’re getting faulty thermostat readings, meaning it’s much colder or warmer than your thermostat is telling you, it’s most probably because your thermostat needs replacing. A thermostat that’s not correctly reading the temperature will usually cause your central heating system to overwork, which is bad news for your heating bills.
Replacing a thermostat is a challenging and potentially dangerous task. You must be comfortable with carrying out safe electrical isolation procedures and wiring an appliance. Some thermostats may require additional wiring that your home doesn’t have, so check the thermostat manufacturer’s information before tackling the job yourself.
It’s never a great feeling to be halfway through a DIY job and realise you don’t have all of the tools you need. Before starting your thermostat replacement, be sure to gather the following:
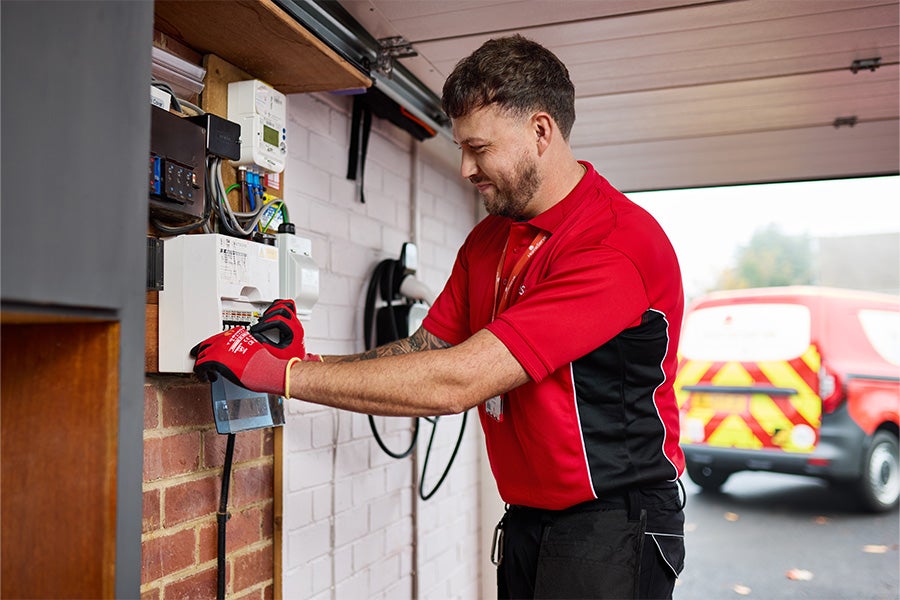
It’s vital to be safe around electricity. You’ll potentially be working with a 240-volt electrical circuit that supplies your boiler and thermostat, so you must make sure that you isolate it correctly. Ensure the circuit is dead using appropriate safe isolation equipment and procedures before you carry out any work.
If you don’t know what you’re doing, there’s no question that you should employ a qualified electrician to do this task. Accidents with mains voltage electricity can be deadly.
Assuming your house is heated through a boiler, you will find a fused connection unit (FCU) or socket next to it. This FCU should also isolate the thermostat—the heating circuitry should all be isolated from a single point.
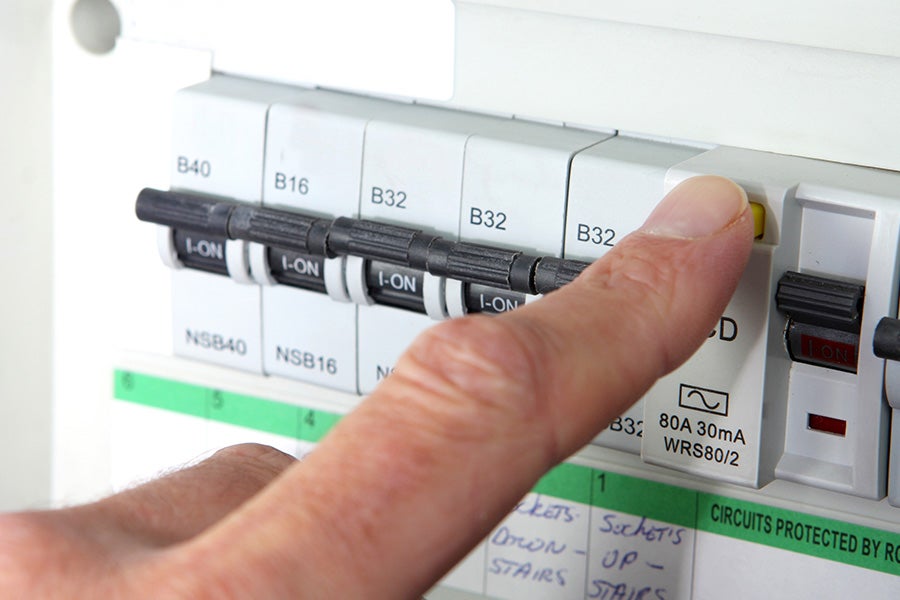
You can test this while the boiler is switched on by going to your fuse box or consumer unit and switching on the circuit breaker on the ‘sockets’. This should cut the electricity supply to all the sockets in your house.
Your boiler should now be switched off. Test the thermostat with appropriate safe isolation equipment and procedures. If you can see that it is dead, you can be sure it’s on the ‘sockets’ circuit. Be sure to unplug at the socket next to the boiler for maximum security.
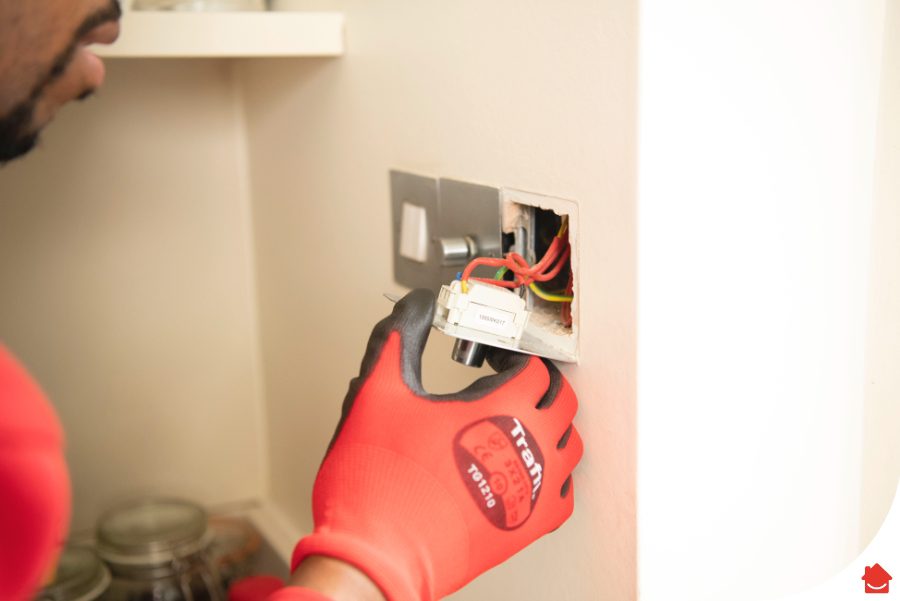
Now use your voltage tester to confirm that you have really isolated the thermostat wiring before starting to work on it.
Wired thermostats are connected with fixed wiring from the heating circuit. Typically the supply will be 3 core wires and 1 earth wire, but always check your own personal set-up.
The wires are usually colour-coded as follows:
| Type of wire | Colour |
|---|---|
| Live Wire | Brown |
| Neutral Wire | Black |
| Switched Live Wire | Grey |
| Earth Wire | Yellow and green |
The live and neutral wires provide the power, and the switched live output allows the thermostat to switch the power on and off automatically as it reads the ambient temperature.
Some thermostats are battery-powered and don’t need power, so only the live and switched live wires are used. Some digital thermostats use the mains as the power supply, and therefore have a neutral terminal.
Don’t always assume your wires are colour-coded correctly. It’s very important that you take a photo or make a note of which wires are connected to which terminals in your old thermostat so you can repeat the wiring in your new one.
Once you have identified which thermostat is compatible with your wiring, and carried out all of the safety procedures outlined above, it is time to replace your thermostat.
Straightforward enough.
Be careful not to touch anything yet.
Before you touch anything, use your voltage tester to double-check that all the connections are dead.
This could be through a photo of the connections, a written note, or labelling on the wires—even better if you can do all three.
For example, if the blue wire was in connection B, write ‘B’ on the piece of tape and wrap the tape around the wire. Label any loose or unconnected wires as well. You’ll need to know this info for wiring the new thermostat, or just in case you have to temporarily rewire your old one. Don’t necessarily trust any coloured sleeves on the wires, as it could have been installed incorrectly.
Then remove the thermostat from its backplate.
Once done, unscrew and remove the backplate from the wall.
You don’t want to lose them behind the wall. One tip is to tape a pencil to the wires—it’s just enough weight to keep them there.
Some thermostats come with a larger backplate to cover up bare plaster or paintwork so you don’t have to repaint. You may need to measure up and drill new holes in the wall for the new backplate, so use a pencil and a mini spirit level.
Use your photo, notes or labels to reconnect the wires. Check the new thermostat manual for how exactly to reconnect the wires. If you’re in any doubt at all, call a professional electrician.
Now you can clip on the front plate to the backplate, and programme the timer.
Once you have followed all these steps, go back to your fuse box and switch back on the electricity supply to the boiler and thermostat.
Check everything’s working correctly, and enjoy your new thermostat!
With boiler cover from HomeServe you can rest assured that should something unexpected go wrong, we’ll help to keep your radiators toasty and your water piping hot. We can also cover your home’s electrics, plumbing, water supply pipe and more. Use our comparison tool to find out the best type of cover for your home.
Our help & advice articles cover Plumbing, Home heating, Electrical, Energy-saving and Home maintenance.