Plumbing advice
How to fix a leaking stopcock
27 Jan 2020 • 5 minutes


With the right tools and some effort, you might be able to fix your leaking stopcock without any external help. Read our advice to see what could be causing a dripping stopcock and how to get it working again. However, be prepared to call in a professional plumber if you have even a shred of doubt.
A stopcock, sometimes called a stop tap, controls the entire supply of mains fed water into your home. The tap is always on, allowing water to enter as and when you need it. But the stopcock lets you shut off the supply in an emergency, such as a burst pipe or to carry out plumbing work.
Usually, there are two stopcocks for your home. One is outside your property, probably under a drain cover. It’s the water company’s responsibility to fix it if anything goes wrong.
The second stopcock is inside and can be found at the point where the mains water pipe enters your home. This is often under the kitchen sink but could also be under the stairs or in a downstairs toilet. When this water stopcock leaks, if you own the property, it’s your responsibility to fix it.
In this guide, we’ll show you how to fix a leaking stopcock tap that’s inside your home.
A stopcock is made up of three main parts:
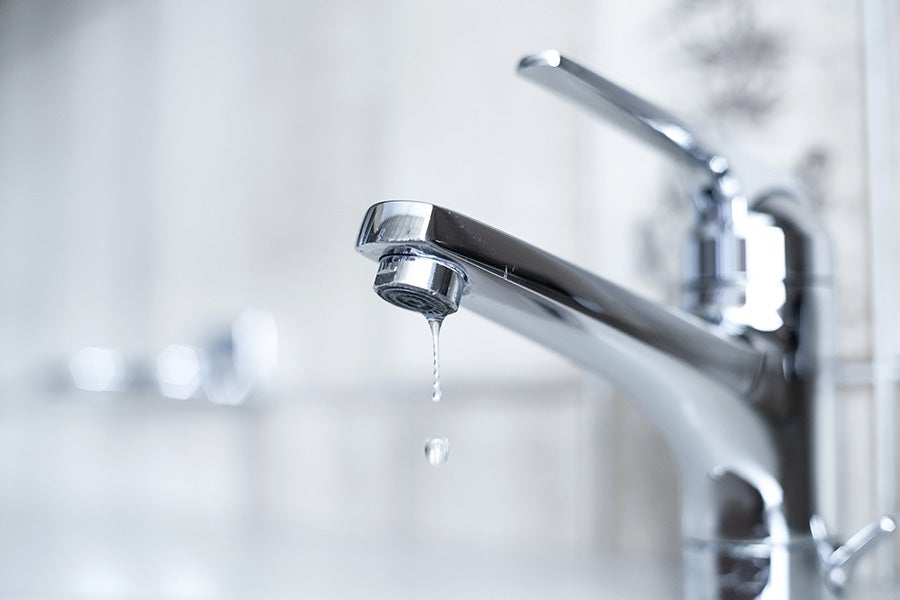
If you discover a leaking stopcock tap, it’s essential to tackle it immediately, so it doesn’t get worse. First, check the leak is definitely coming from the stopcock and which part it’s coming from. If it’s leaking from one of the nuts, you’ll be able to see the water dripping. If the leak is in the head gear joint, you won’t see the stop tap leaking. What you may notice is that water still comes through your taps when you’ve turned the stopcock off.
If you’re sure it’s the stopcock that’s leaking, follow the steps below to repair it. Though if you’re uncertain, it’s best to call in a professional plumber.
If you think you have a leak somewhere else in your home, use this handy guide to help detect where the water leak is coming from.
There are two compression nuts on a stopcock that join the tap to the water pipes on either side. If one of these nuts is leaking, try tightening it before doing anything else, as this will often stop the leak.
To tighten a compression nut:
If this doesn’t stop the leak, the next step is to seal the nut with PTFE tape as follows:
The gland nut on your stopcock is the nut that sits directly below the top of the tap. It’s packed with a material that forms a waterproof seal to stop water leaking up the spindle.
A leaking gland nut can often be fixed by simply tightening it. But be careful not to tighten it too much as this restricts the stopcock’s ability to open and close. If that doesn’t work, the gland packing inside is probably worn and will need to be replaced.
There’s no need to isolate the water supply when doing this job.
To replace the gland nut packing:
The head gear joint is the main body of the stopcock and is found in between the compression nuts and underneath the gland nut and the tap itself. If you close your stopcock, but water still comes through, then it will be due to the washer inside being worn out. The washer is attached to the end of the spindle of the tap.
To fix a leaking head gear joint, you need to replace the washer inside it.
To replace the washer:
Finding a leaking stopcock can be worrying. But, as you can see, there’s usually an easy and inexpensive fix you can do yourself.
If you’ve tried everything in this guide and you’re still having problems, contact HomeServe for assistance.
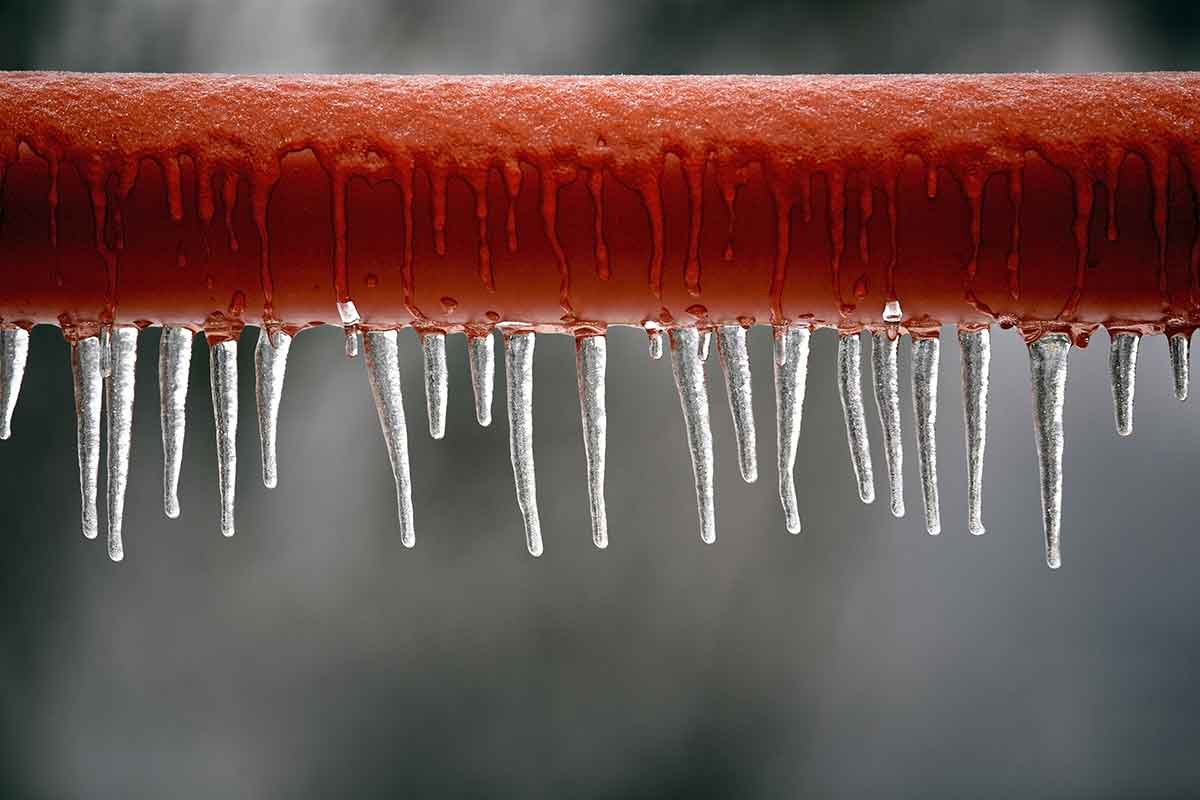
Don’t let a burst pipe or blocked drain slow you down. Take out plumbing and drainage cover and get access to a nationwide network of trusted engineers.
Our help & advice articles cover Plumbing, Home heating, Electrical, Energy-saving and Home maintenance.