Plumbing advice
How to change a washer on a mixer tap
16 Aug 2022 • 7 minutes
Plumbing advice
16 Aug 2022 • 7 minutes
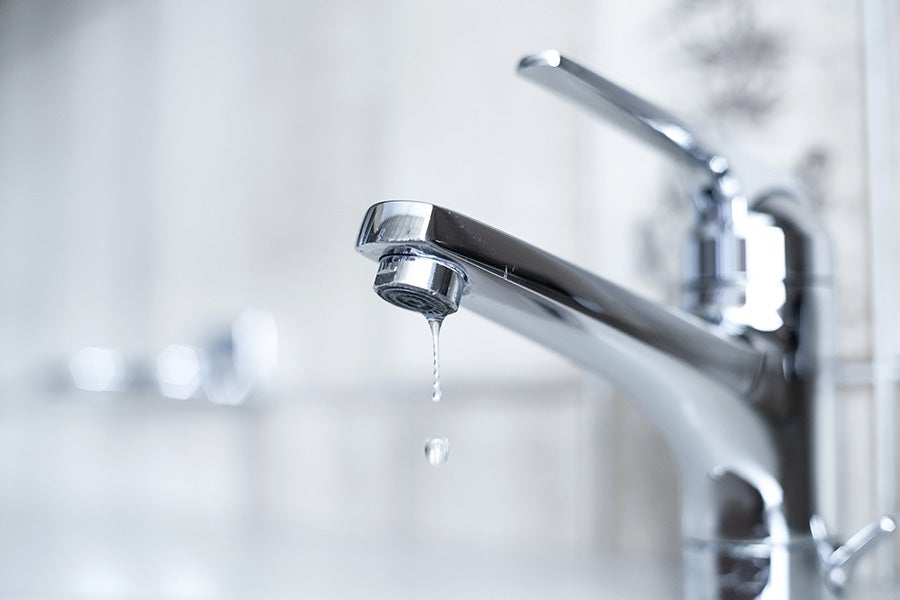
A dripping tap can cost you up to 0.5 litres per hour, which is equal to 12 litres per day or 4380 litres a year. This can become extremely costly over time.
If you have a more modern tap, your tap probably has a ceramic disc cartridge instead of a rubber washer. If you want information on how to change your ceramic cartridge, please check out our other article, How to change a kitchen tap, which includes a section on changing a ceramic cartridge.
After a few years of general wear and tear, tap washers start to become less effective (and as it’s the working part of the tap, it isn’t meant to last forever), so changing it will most likely solve the issue.
A typical mixer tap with a washer (please go to How to change a kitchen tap, if you have a more modern mixer tap with a cartridge) is made up of two main parts; the seat and the washer.
When you turn your mixer tap on or off, inside the tap, the washer moves up or down, either allowing pressure to build up, which forces the water out through the spout. Or pushing against the seat, making a watertight seal that stops any water flowing out of the tap’s spout.
If the washer can no longer form a watertight seal, a small amount of water starts getting through. There’s your leaky tap.
New mixer tap washers are super-cheap and available to buy at any DIY shop. They come in a variety of sizes so you need to measure your current tap washer (can be done with a tape measure or callipers) to get the right size.
The guide below applies only to dual tap mixers that combine hot water with cold. Single tap mixers are more modern and generally have a removable cartridge inside instead of a washer and O-ring.
You will need:
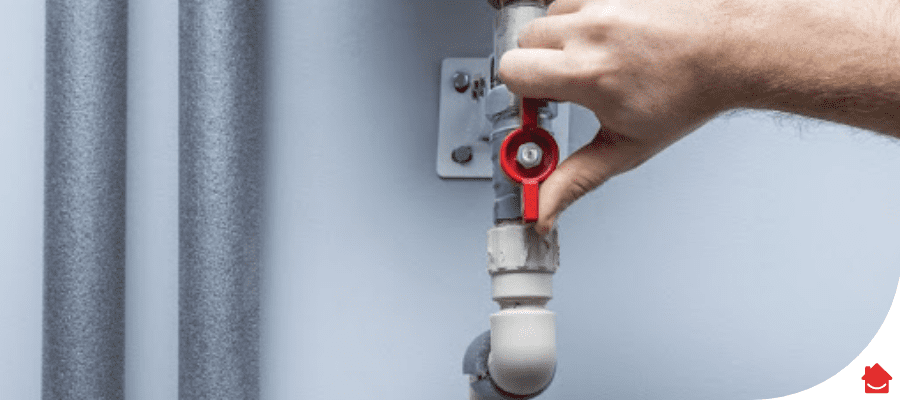
You’ll need to cut off the water supply to your tap to work on it. You’ll need to find the mains stopcock (it’s usually under your kitchen sink) and switch this valve all the way to ‘off’. Then drain the mixer tap you want to repair by running it until it’s empty.
A dual tap mixer has two handles, one on either side of the tap spout: one for cold and the other for hot. While you’re here you may as well check (and replace) the washers in both handles, to save having to do it at a later date.
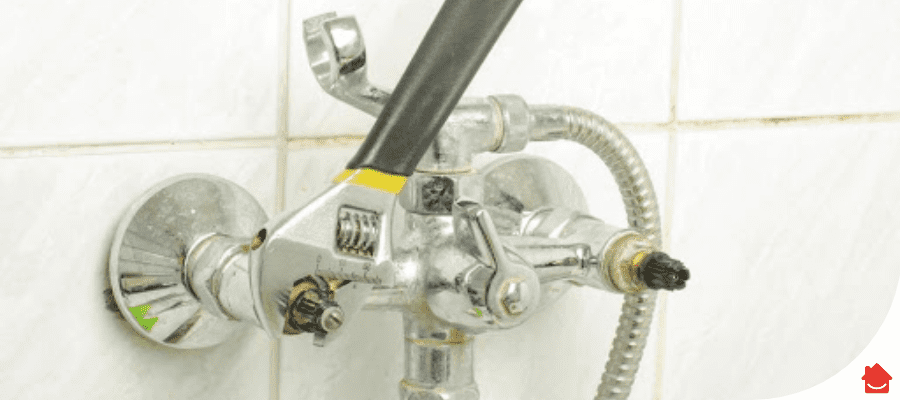
a) On the top of the taps you will find covers or caps – they may be red and blue or say ‘H’ and ‘C’. Remove these carefully using a fine blade flat-head screwdriver.
b) Underneath the cap is the screw. Hold the tap head in one hand and loosen the screw to remove the headgear assembly.
c) You can now remove the tap valve with your adjustable spanner.
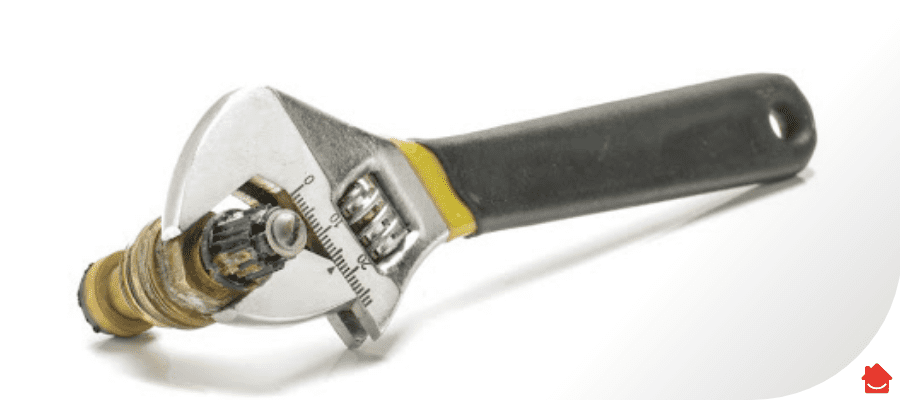
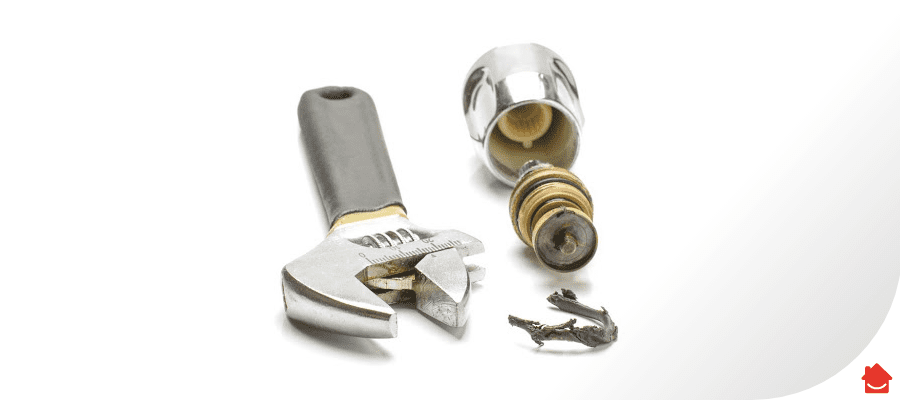
a) Now you can check the O rings on the body of the valve, and the washer mounted at the base.
b) Remove the O rings using the tip of your screwdriver.
c) The washer is designed to keep the base of the tap watertight and may or may not feature a hole. You can carefully prise the washer off using the end of your screwdriver. Be careful not to injure yourself!
d) Your valve may feature a number of O rings. Check they are in good condition – you probably won’t need to replace them all – and apply some silicone grease if necessary.
e) Ensure that you screw all the parts tightly back together to avoid any leaks.
a) Now you can replace the washer on the base of the valve. Make sure your new O ring(s) is in place and the headgear is secure.
b) Before replacing the headgear, check the tap seat (the surface inside the tap where the washer rests). If this is damaged, it may also be causing leaks. This is where you’ll need a tap reseater to repair the damaged surface.
c) Place your new washer onto the valve and lubricate the assembly.
d) Now screw the headgear back into place. Use a spanner to tighten the tap.
e) Replace the tap handle, tighten the fixing screw and put the plastic cap back on.
f) Repeat for the other tap and test the system. Your tap should now be leak-free!
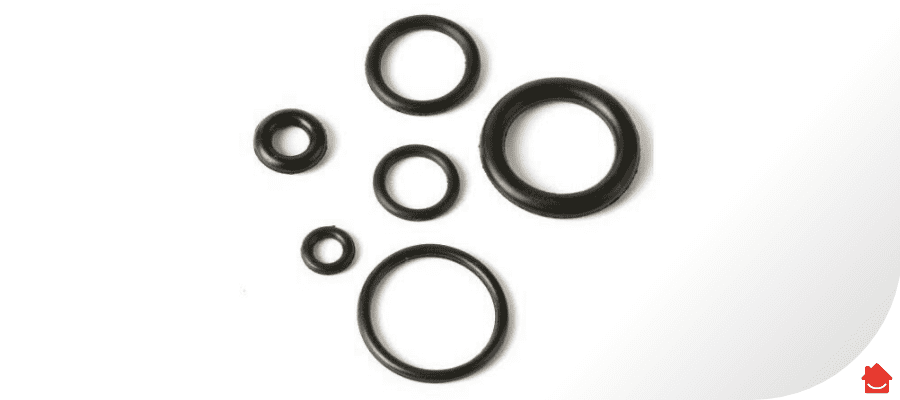
It’s important to replace your O rings and washers with ones that are absolutely new and an identical size. You can measure O-rings and washers using a tape measure or, if you want to be professional about it, callipers. If you don’t have either, take your existing washers and O-rings to a DIY shop and they’ll help you find replacements.
It’s also possible that your drip is being caused by a leaking tap spout, which also contains an O-ring.
a) Unscrew the spout using an adjustable spanner. To avoid damaging the unit, place a cloth between the spanner and the spout.
b) Remove the tap spout.
c) Check the O rings for any damage.
d) If they’re worn out, remove them with your flat-head screwdriver.
e) Reassemble your tap.
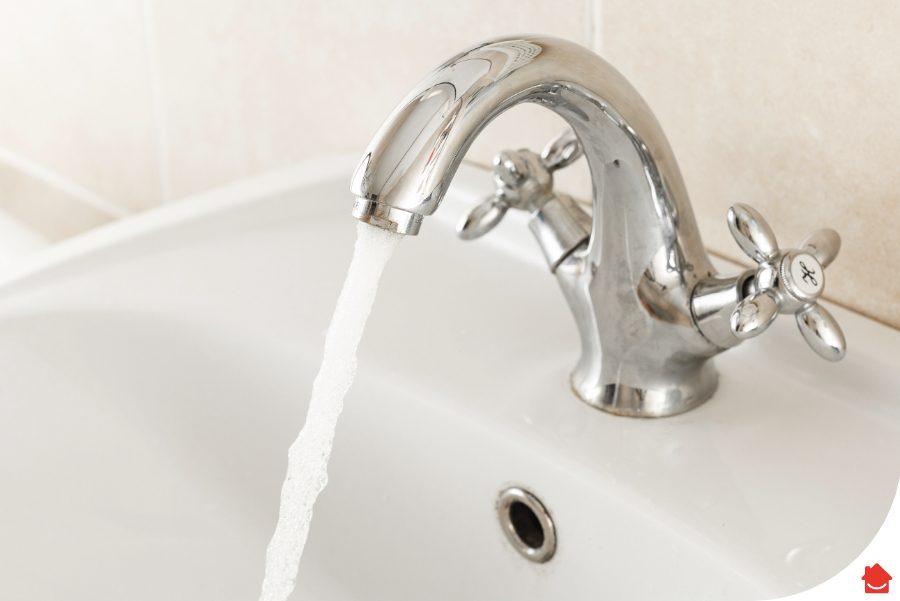
Hopefully you have now successfully replaced your tap washer! Once you’re done, turn the water supply back on to check if it worked. Allow the water to flow for a couple of seconds just to clean up the debris from the piping. If you’re stuck, we’re here for one-off repairs or we have another article on How to fix a dripping tap here. You can also check our plumbing and drainage cover, so your pipes don’t impede your busy family life.
If it’s a modern mixer tap you’ve probably got a worn out ceramic cartridge and need to replace it. If your mixer tap is an old-fashioned mixer tap, you’ll most probably need to replace the washer.
You need to isolate your water supply before opening up the tap with a flat-head screwdriver and locating the worn out washer (and possible O-ring). Replace with the exact same size and refit your tap.
Most modern mixer taps have cartridges instead of washers and O-rings.
Our help & advice articles cover Plumbing, Home heating, Electrical, Energy-saving and Home maintenance.