Plumbing advice
How to disconnect a washing machine
03 Jun 2021 • 6 minutes
Plumbing advice
03 Jun 2021 • 6 minutes
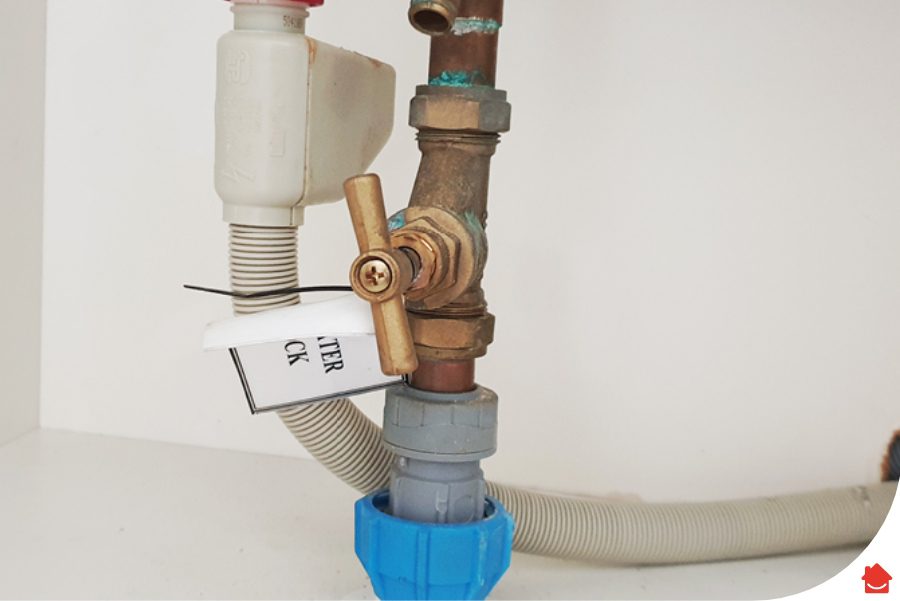
The answer really depends on your home. Some homes have an exposed valve that shuts off the connection to the washing machine before the pipes reach the specific valves – much like valves found at the back of the toilet or underneath the sink. If you’re fortunate enough to have one of these, you can easily shut down the water supply by closing it before doing a repair.
If you don’t have one of these, you may be able to shut off the water at the connection valves that lead from the wall to the machine. But, these can rust closed over time, so you might struggle to turn them when you need to.
If all else fails, you can always turn off your home’s entire water supply at the water mains as you would for major plumbing repairs.
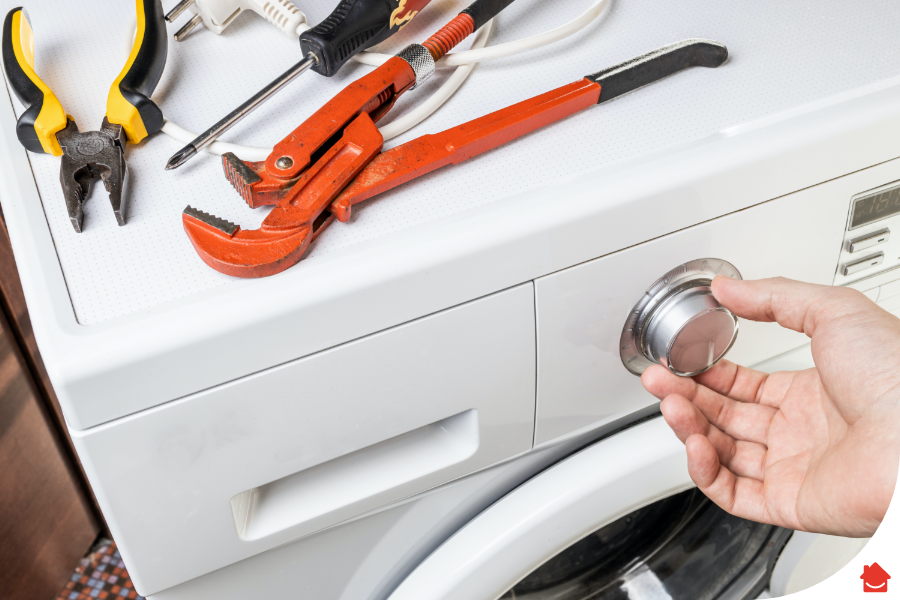
Disconnecting your washing machine is a pretty simple process, so luckily, you’ll only need a few essentials to hand before you tackle the task. However, here’s a quick list of what you’ll need, so you’re ready when the time comes:
Whether your older washing machine has finally given up or you’re moving house, we all need to learn how to disconnect one. Knowing how to do it can be a handy skill to have – and can save you some cash, too!
Before anything else, unplug your machine, so you can be sure it’s switched off and no power is running to it.
Water valves do what they say on the tin: they supply hot and cold water to your washing machine, usually through a washer box attached to the wall behind your machine. Start by turning your water valves clockwise until they can’t be turned any more. This will ensure they’re securely turned off.
Turning your water valves off is a vital step as it protects you from large spills if you accidentally tear a hose later in the process.
If you’re working alone, grab one side and move it forward, then repeat on the other side. If you’re lucky enough to have help at hand, try pulling on opposite sides at the same time.
Remember, pull the machine as far out as you can without putting stress on the hose. In a perfect world, this will be far away enough from the wall that you can get behind it.
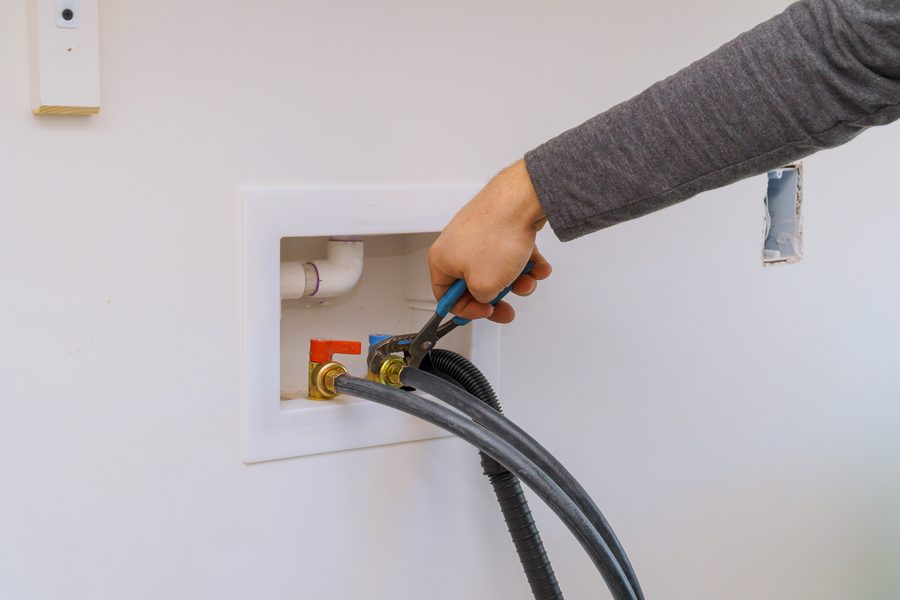
If you live in a more modern home, you’ll probably have a washer box, which hides the hose and drain connections in the wall. You’ll also find shut-off values and a drain opening in here too, which means you can reach the lines without putting your back out!
Place a bucket or pan behind the washing machine, under the water lines, where it’ll catch any spillages. Surround the bucket with several towels to collect any leakage or water that may leak out once the pipes are detached.
Now that your washing machine has been moved, and your bucket is in position, it’s time to disconnect the hose from the machine. If the hoses are attached to clamps, turn the screws on top of the clamps anticlockwise until they loosen. Then, point the ends of the hoses towards your bucket to drain any excess water. Alternatively, you can put them in the drain, found in the washer box.
It’s a good idea to double-check that your valves are still turned off before attempting this step. Some styles of faucet handles are easy to accidentally turn back on. This often happens as you move the machine or when you step behind it.
You may also want to wait a few seconds after turning off the valves before removing the hoses, as this will allow the pressure in the hoses to lower, making them easier to dislodge.
Turn the ends anticlockwise until the hoses are disconnected. You may need to use adjustable pliers or a pipe wrench to loosen them, especially if your washing machine hasn’t been shut off in a while. Once you’ve removed them, drain any water into your bucket.
Depending on your plumbing set-up, this might be a laundry sink, wall-mounted drain or even a stand-alone pipe. Each of these requires a slightly different process of hose removal. Reading the instructions that came with your machine is a great shout if the process isn’t immediately obvious.
The short answer is yes, it’s safe to unplug your washing machine. In fact, it’s often recommended that you unplug your washer when it’s not in use to save energy.
Before you undertake any kind of work on your machine, you should unplug it from the mains first. This will prevent potential electric shocks or other damage while work is being carried out.
If you think there could be an unsolved problem lurking in your machine, it would be worthwhile looking into common washing machine problems, before you begin.
There are a few possibilities as to why your washing machine won’t drain all the water. For example, it may have a clogged drain hose or a broken pump. A broken lid switch or belt could also be to blame. Sometimes it may be as simple as a jammed hose, but whatever the reason, the water will need to be drained from the washing machine before the problem can be diagnosed.
If you suspect that your washing machine drainage issue is due to a blocked drain outside, you will need to investigate whether this is something that you or your local water sewerage company are responsible for. If it is the company who is responsible, you will need to get in touch with them to get help.
Our help & advice articles cover Plumbing, Home heating, Electrical, Energy-saving and Home maintenance.