Plumbing advice
How to replace an outside tap: Complete step-by-step guide
12 Sept 2023 • 5 minutes
Plumbing advice
12 Sept 2023 • 5 minutes
We’d recommend getting a brass full-turn bib tap, as this is the most commonly used because of their durability and cost.
Now you have everything prepared you can move on to the replacement process. We’ll now talk you through the 5 steps of replacing your outside tap.
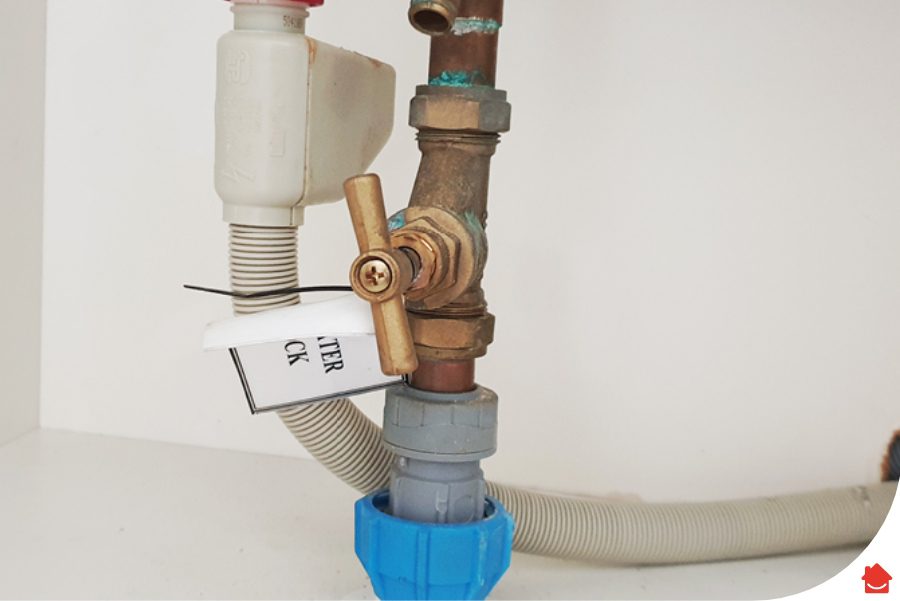
Don’t do anything until you’ve located your stopcock (usually found under the kitchen sink) and switched off your water supply. You can test that you have done this correctly by opening the kitchen or outside tap to check if it has stopped running.
To do this you can just turn the main body of the tap anti-clockwise until it comes out of the backplate. You may need to use an adjustable spanner on the nut of the tap and also hold against this on the housing with another spanner to avoid twisting the backplate.
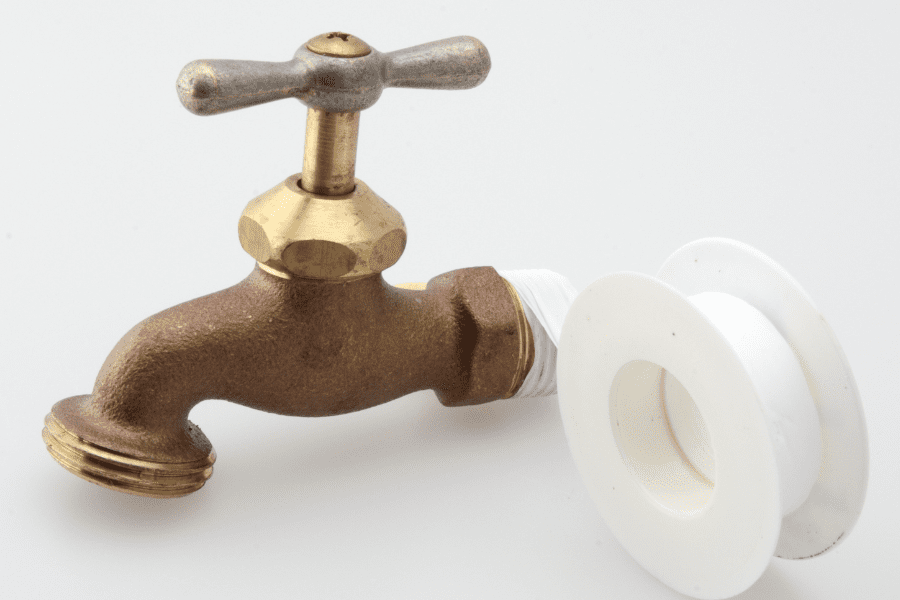
To fit the new tap you will need to prepare the thread by wrapping it in PTFE thread tape. Check the direction in which the fitting is tightened. It is important that the PTFE tape is applied in the direction of tightening (usually clockwise).
Screw the prepared tap into the existing backplate by inserting and turning clockwise. You can do most of this by hand and will need to just tighten it with an adjustable spanner, again whilst holding the backplate with another spanner to stop this from turning.
Once you’re happy with your connection, turn the water back on and check the tap for any leaks. If you have any, you can either tighten the joint or turn the water off and make any repairs you need.
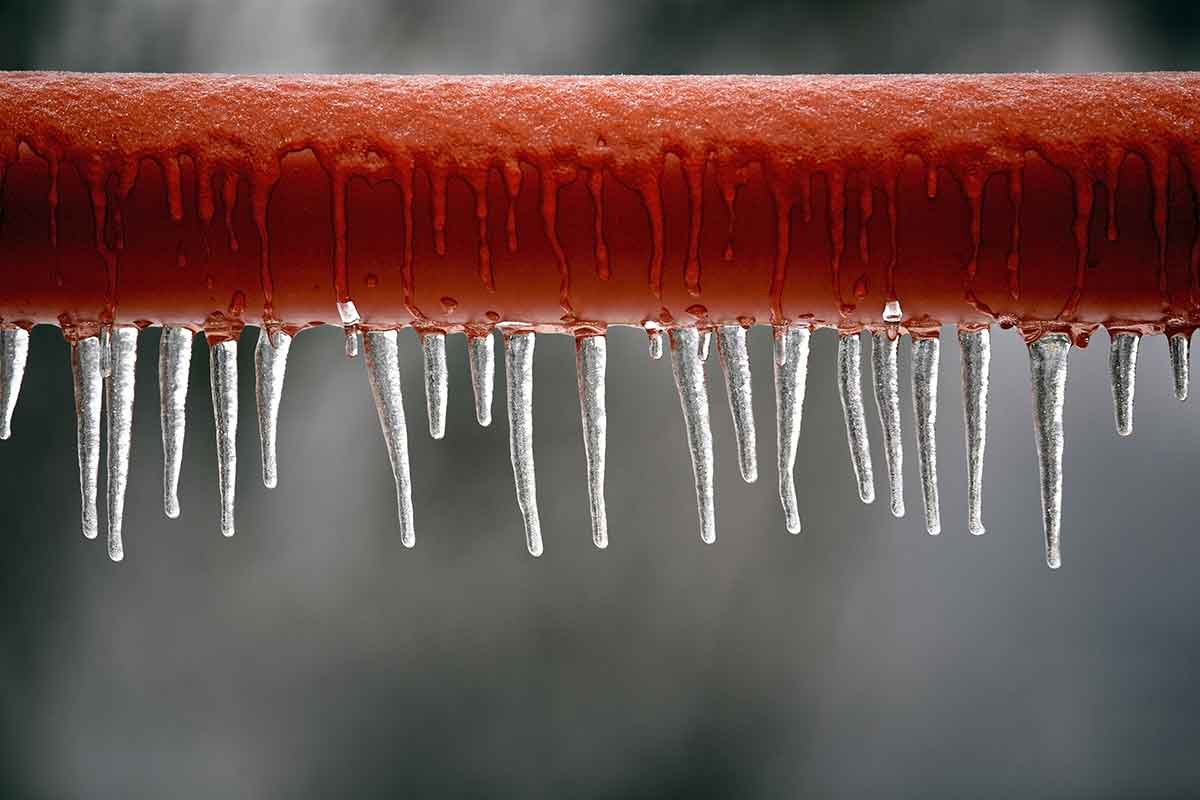
Finally, don’t forget to add an insulated tap cover or jacket after fitting your new outside tap as this will prevent it freezing up in the winter. Find out more about preventing cold weather damage in our guide.
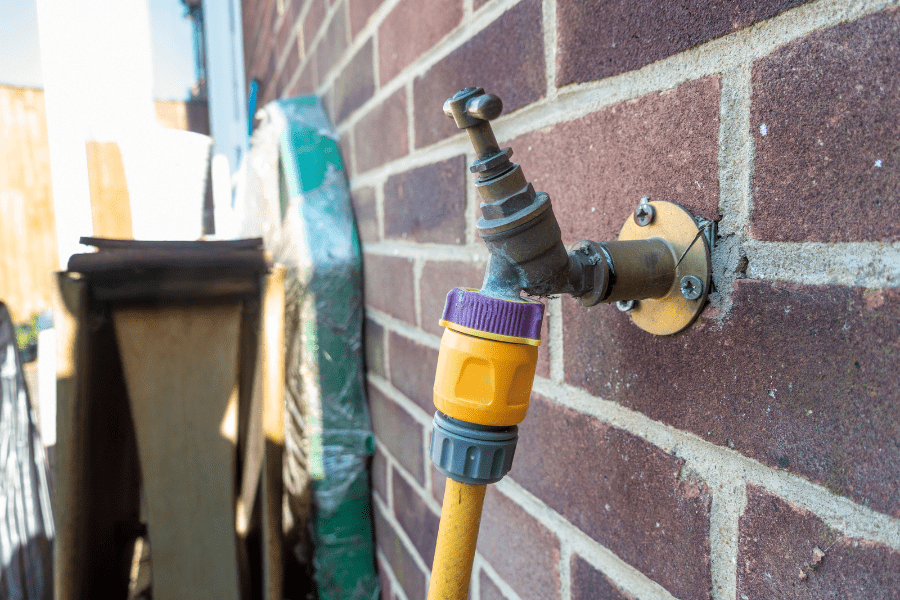
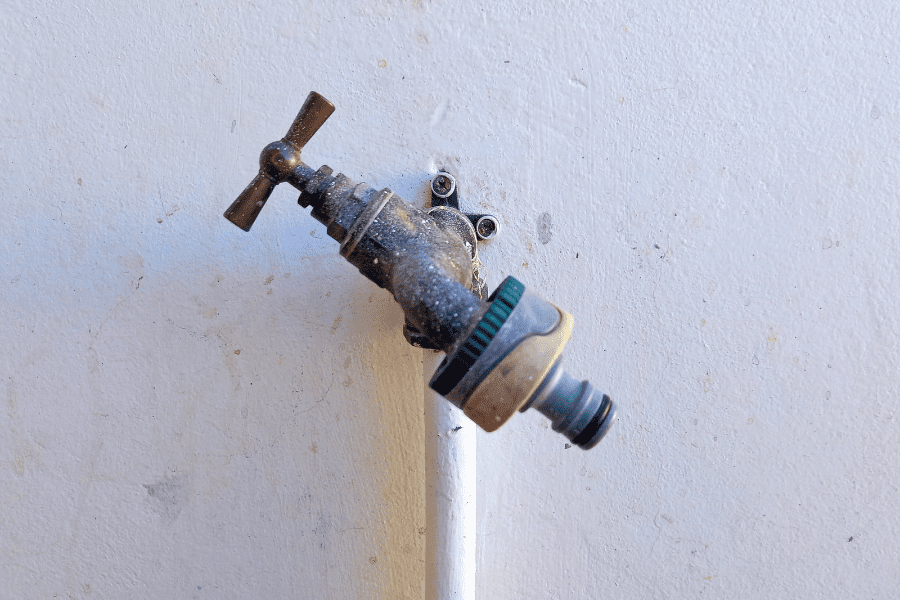
You attach your hose using an outside tap connector and follow the 3 easy steps below. Remember to always use a hose fitting that incorporates a check valve to avoid contamination of the water main.
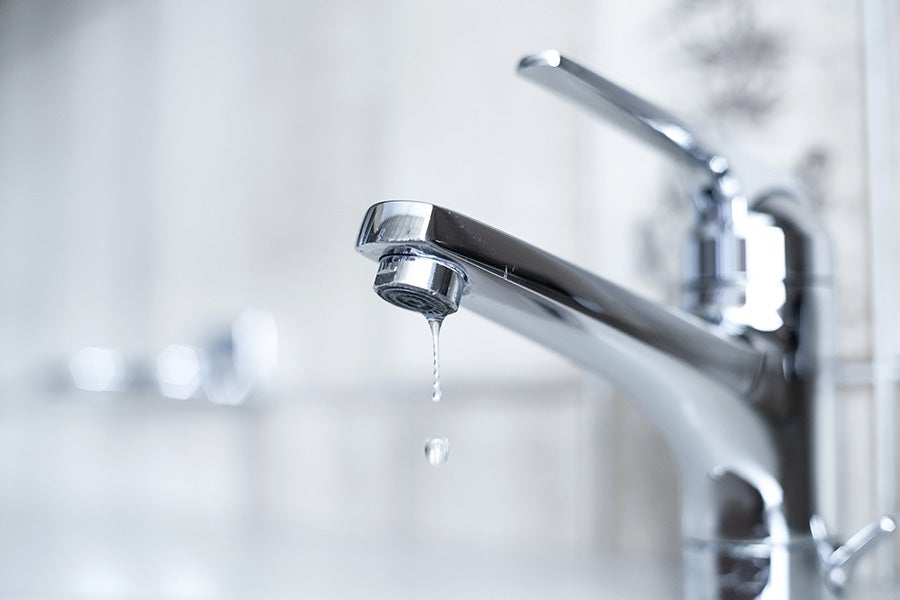
If you have a dripping outside tap, this can be fixed in a number of ways:
Replacing the washer on the outside tap will often fix leaks coming from the spout, and is cheaper than replacing the tap altogether.
If the leak is coming from the packing gland nut below the handle then this can be tightened up with an adjustable spanner.
As we’ve shown in this guide, it is possible to replace an outside tap yourself, however you will need some degree of plumbing knowledge in order to get this job done safely and efficiently.
Outside taps can freeze in the winter and suffer from cold damage. You can prevent this by fitting an insulated tap cover or jacket, which will protect the tap against extreme weather.
Plumbing is not everyone’s strong suit. If you feel uncomfortable with performing any of the steps outlined in our guide to replacing an outdoor tap then you should contact a qualified professional to get the job done.
For some, fitting an outside tap could be a plumbing task too far. In the event that should go wrong, you may want to contact our one-off repair service who will be able to help you.
You may also be interested in our plumbing and drainage cover which is designed to protect your home against plumbing emergencies with the minimum of fuss for a fixed monthly fee.
Our help & advice articles cover Plumbing, Home heating, Electrical, Energy-saving and Home maintenance.