HomeServe USA
 HomeServe Canada
 HomeServe Spain
 HomeServe France
Plumbing advice
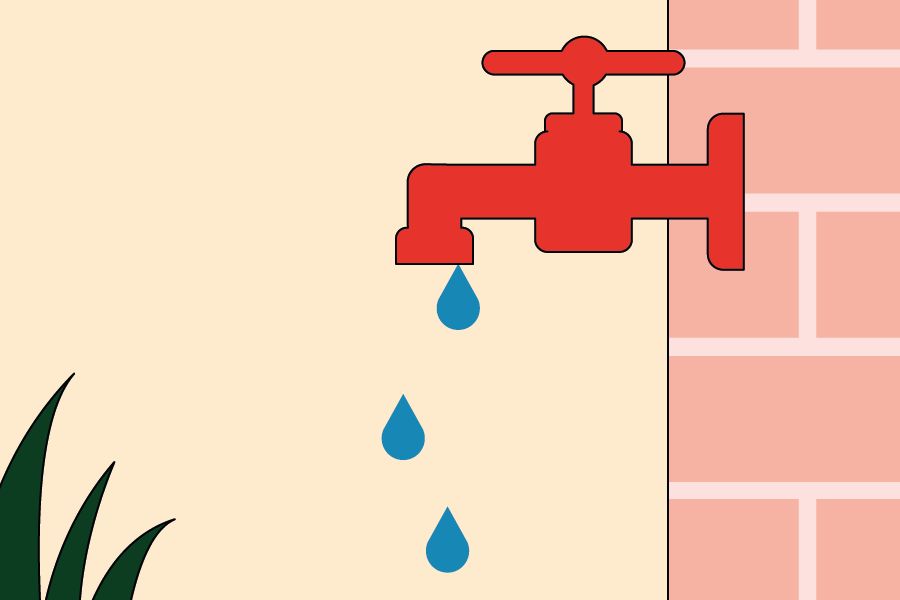
How to stop an outside tap leaking
07 Jul 2023 • 6 minutes
Plumbing advice
07 Jul 2023 • 6 minutes
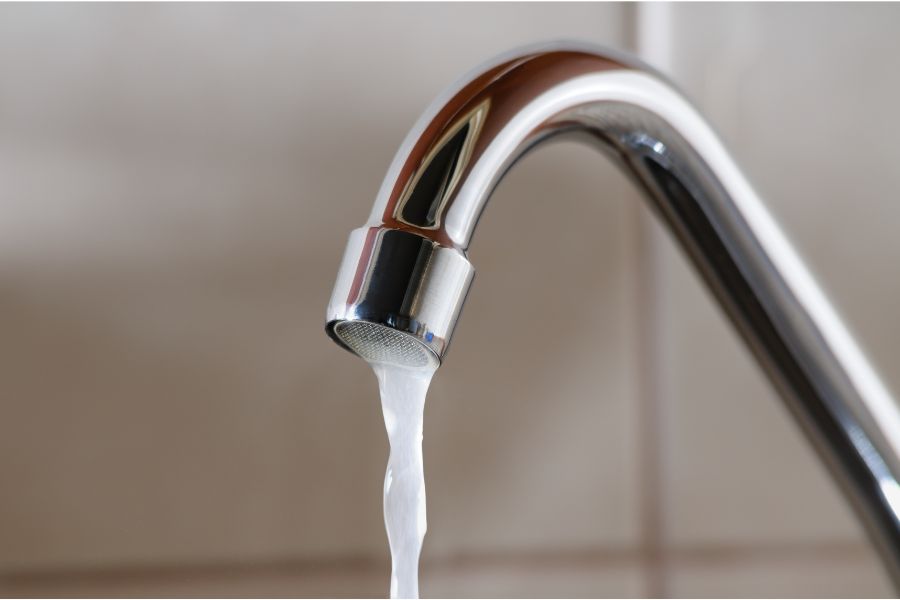
It’s usually one of two things caused by wear and tear; a loosened packing nut or a worn washer. Like most taps, your outside tap has an internal washer that seals and cuts off the water flow completely when the tap is turned off.
After being turned on and off repeatedly, the washer can wear away so much that it starts to fail and let out water, and resulting in a dripping outside tap.
As DIY projects go, it’s a fairly straightforward one. And changing a washer on an outside tap is around 4-5 times cheaper than replacing it with a brand new tap.
You only need a few tools and luckily washers are reassuringly cheap and easy to come by. The trickiest bit of the repair will probably be how to unscrew the top of the tap – but hold on and we’ll show you how that’s done.
Keep in mind that if the tap is old or damaged, it may be better to replace your outside tap with a new one.
There’s nothing more annoying than being in the middle of a DIY job and then having to go and buy a tool or part to finish it. So before you tackle this dripping outside tap, make sure you’ve got everything you need.

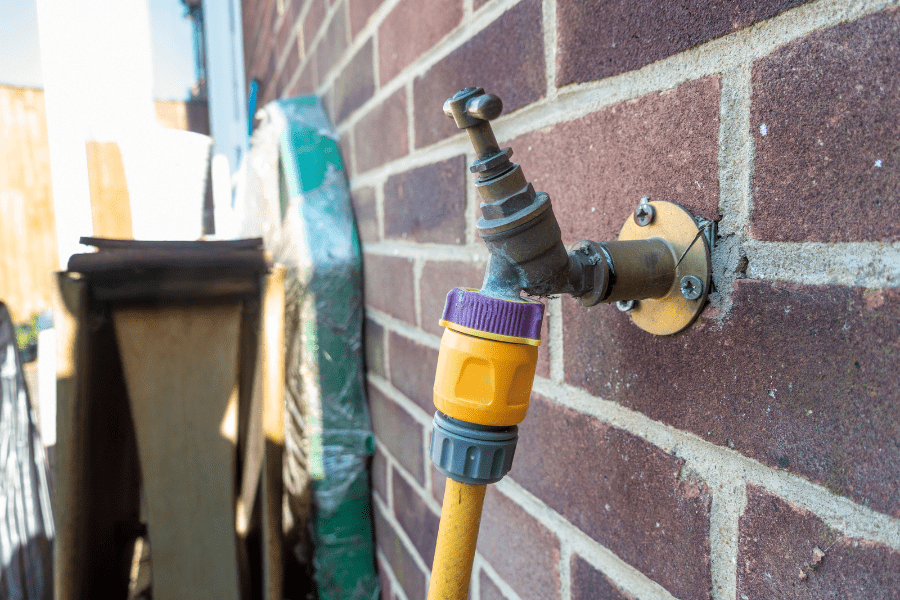
Outside taps usually leak in one of two places: the spout itself, or from around the spindle or shaft where it enters the packing nut or gland nut.
Knowing the location of the leak will tell you what you need to do next.
Don’t do anything until you’ve located your stopcock (usually found under the kitchen sink) and switched off your water supply. Then open the tap to run it dry. This will save any water from spraying on your face!
Liam’s top tip: If you haven’t used your internal stopcock for a long time, the packing nut may leak when you turn the tap off. If it does, just tighten the packing nut of the stopcock with an adjustable spanner like in step 3a.
If your tap is leaking from the spout, skip to the next step.
Grab your adjustable spanner and tighten the packing nut (it’s just below the spindle). Packing nuts usually get loose over time due to the water pressure involved. Tightening the packing nut usually fixes the problem.
Liam’s top tip: If your tap is still leaking from the packing nut, loosen the packing nut and apply PTFE to the thread before tightening up.
If your tap now stops leaking when you turn your water back on, you’re done!
If your tap is leaking from the spout, it’s most likely due to an old or damaged washer inside the tap. Just follow the rest of the guide to learn how to remove and replace the washer.
The valve head sits below the packing nut, it’s the bigger hexagon nut at the base of the tap handle. So grab your adjustable spanner and unscrew the larger nut until the tap head comes away.
Once removed, you’ll see the washer at the end of the tap valve. Carefully use your flat head screwdriver to remove the old washer.
Use an old toothbrush to remove any debris.
Insert the new washer. Wind your PTFE or plumber’s tape around the threads of the tap, then put the valve back in.
Reverse your steps with your adjustable spanner by tightening everything up, then go back to your stopcock and turn your mains water back on. If the leak has gone, you’ve done it!
If your outside tap is still dripping, it could be an issue with the valve seat of the tap. This is the bit of the tap inside that the washer pushes against to make a seal and cut off the flow of water.
At this stage, you could re-grind the seat flat with a valve reseating tool – or just buy a new tap as they’re not nearly as expensive as those swanky chrome-plated taps indoors.
If you’re not a confident DIYer do not fret, we are here to help! Stop here and get in touch with us. We can send out a professional to help you and the issue will be solved in no time thanks to our trusted trained plumbers.
If it’s your hose connector that’s leaking, it’s most likely the O-ring in the coupler – just like the washer in the tap, it gets worn over time. Here’s how you can stop the drip from your hose connection:
Nothing lasts forever and there will always be wear and tear on your appliances and fixtures at home. Why not cover yourself and your family from those unexpected faults and follies with our Plumbing and Drainage cover.
And guess what? You can always get one of our trained plumbers over for a one-off repair, should you need it.
Outside taps are pretty similar to inside taps, except modern taps will have a double-check valve to make sure water flows out and not in. This prevents contamination from outside sources.
Your outside tap probably also has a slightly different spout to your inside taps: a thread allowing you to screw on different attachments like your garden hose.
This is a nice easy fix for budding DIY-ers, as it’s usually a question of just tightening the packing nut with an adjustable spanner, or replacing a worn washer inside the tap.
Turn off the mains water, remove the valve head, then replace the worn washer with a similar one, then reverse your steps.
You probably have a worn O-ring inside the connector. Replace it like for like and you should be good to hook up the hose again.
Our help & advice articles cover Plumbing, Home heating, Electrical, Energy-saving and Home maintenance.