HomeServe USA
 HomeServe Canada
 HomeServe Spain
 HomeServe France
Plumbing advice
Top 3 ways to fit isolation valves
11 Nov 2021 • 7 minutes
Want to make plumbing maintenance jobs easier by fitting an isolation valve? We don’t blame you!
Installing an isolation valve (a.k.a. ‘service valve’ or ‘shut-off valve’) makes repairing and replacing appliances like toilets, sinks, showers, washing machines and dishwashers a hundred times easier. That’s because it allows you to stop the flow of water to it while you do the work.
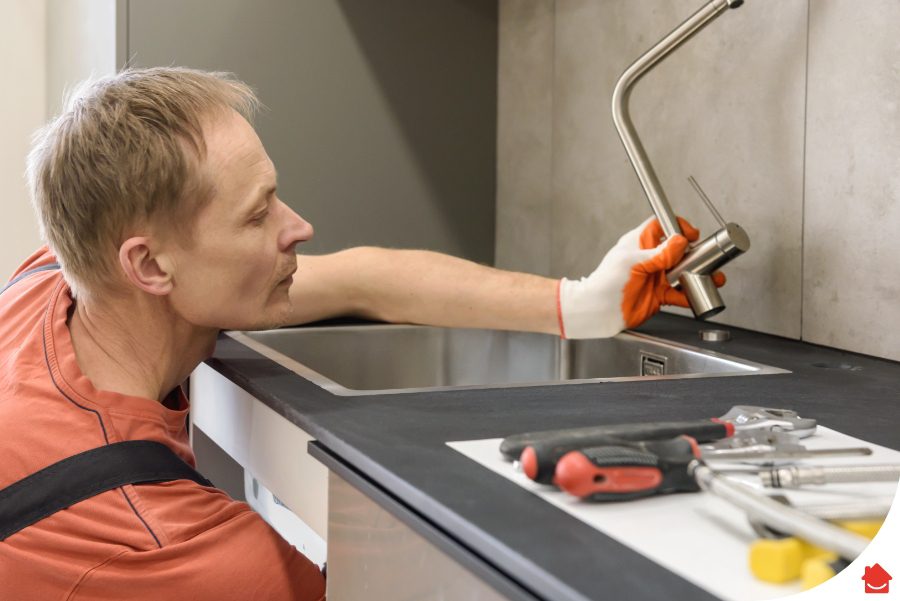
So, if you’re a DIYer with a little plumbing experience, this guide will tell you everything you need to know about the top 3 ways to fit an isolation valve. We give you the ‘how to’ guide for the different types of isolation valves available, including how to fit an isolation valve to a copper pipe, and how to fit an isolation valve to a plastic pipe.
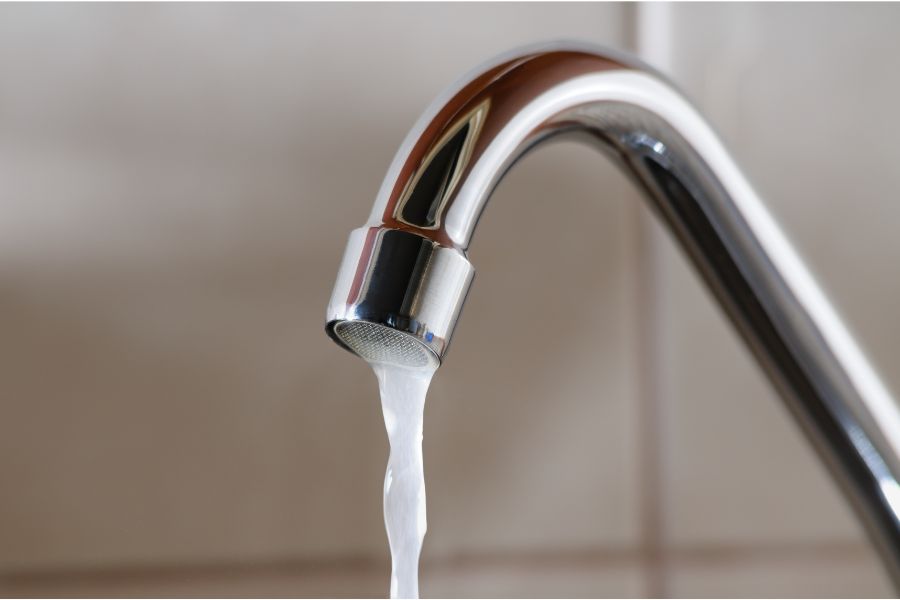
One of the requirements of the Water Supply (Water Fittings) Regulations 1998 is the prevention of the waste of water. The isolation valve’s job is to allow you to ‘isolate’ a given appliance. Let’s say you want to replace your kitchen taps In this case, you simply turn the valve on both the hot and cold water supply and remove the taps.
Without these isolating valves, you’d have to drain your entire hot water system down, remove the taps, and then refill the system, that is a lot of wasted water.
Top DIY tip: Whenever you’re doing a DIY job, think: could this appliance benefit from having an isolating valve so that, next time, the job is easier? Food for thought!
Turning off your mains water for the sake of a simple job like changing a tap is a real headache that can inconvenience everyone in your household. What’s more, it can also lead to airlocks when the water is turned back on – and these can stop the water flow.
Important information: DIYers should be aware that the installation of any water fitting falls under the requirements of the current Water Supply (Water Fittings) Regulations 1999. The current Water Supply (Water Fittings) Regulation 1999 states that any isolation valve should be installed adjacent to the appliance they are required to serve and be readily accessible.
Whenever purchasing an isolation valve it should meet the requirements of current standards; it should be of an appropriate quality and standard and be suitable for the circumstances in which it is to be used.
A water isolation valve is of an appropriate quality if;
Although isolating valves have many names including service valve, shut-off valve, ballofix valve and isolation valve, their function is the same: they’re all valves you can fit to isolate a single appliance.
However, isolation valves are supplied in different types of materials to suit your piping:
You can fit isolation valves with handles or screws. Here’s how to work out which type is right for you.
Handle valves have a handle or lever that you can easily turn to switch it on and off. These are easily accessible in emergencies and so highly recommended. However, if you have young children who could potentially reach the valve and fiddle with it, perhaps the next type is more suitable!
Screw valves are more discreet, with a flathead screw that you can turn only with a flathead screwdriver. In an emergency situation, you’d have to spend a little extra time grabbing a screwdriver – so if you have this type of isolation valve, it’s a good idea to keep one handy.
You can also get screw valves in an L-shaped format for hard-to-reach pipes.
Push-fit valves have become the go-to solution for plumbing work because they can be used on both copper and plastic pipes, and they’re quick and easy to use. You just push them onto the pipe without needing to use a traditional compression fitting.
Push-fit valves are strong and water-tight and allow for expansion and contraction depending on temperature. They can be used for cold and hot water central heating pipes. Although they’re a little more expensive, the extra cost is often balanced out by the time saved on fitting.
It’s also common practice to use pipe inserts with plastic pipework when using either push-fit or compression valves. Inserts protect against leaks and – in copper compression fittings – against the pipe crushing with compression.
The two types of pipe material that isolation valves can be fitted to are copper and plastic. Here’s what to do if you have copper pipes.
Tools you’ll need:
1. Turn off the mains water supply using the stopcock (usually found under your kitchen sink).
2. Mark the section of pipe where you want to fit the isolation valve. This must be equal to the width of the isolation valve.
3. Cut the pipe using your pipe cutter or small hacksaw, ensuring as clean a cut as possible.
4. Remember to avoid any jagged edges. If in doubt, consult a plumber or someone with more professional tools.
5. When you have finished cutting, file and clean the ends of the pipe where the valve is to be fitted.
6. Insert the new valve into the gap created and tighten all parts necessary on the valve. This is usually two sides, to ensure a firm connection.
If your pipes are made from plastic, the method is similar to copper pipes. If you can, use a push-fit valve, which makes it easier. But you can fit a non-push-fit valve to a plastic pipe, as with copper.
1. Switch off your water supply at the mains.
2. Mark your pipe where you’re going to cut it – making sure it’s the same width as your valve.
3. Cut your plastic pipe cleanly with special cutters.
4. Again, remember to avoid any jagged edges. If in doubt, consult a plumber or someone with more professional tools.
5. Insert pipework inserts to support the joints.
6. Insert the new valve into the gap created. For push-fit fittings ensure that the fitting is fully engaged to the shoulder inside the fitting.
7. For compression fittings, tighten all parts necessary on the valve.
Push-fit valves and pipes are used in plumbing as an alternative to traditional pipes. They are simple and quick to install as they easily slot together with no tightening of compression joints.
Here’s how to fit a push-fit valve…
1. Switch off your water supply at the mains.
2. Mark your pipe where you’re going to cut it – making sure it’s the same width as your valve.
3. Cut your plastic pipe cleanly with special pipe cutters.
4. Again, remember to avoid any jagged edges. If in doubt, consult a plumber or someone with more professional tools.
5. When you have finished cutting, insert the pipe insert into the pipework.
6. Insert the new valve into the gap created, push to fit, and you’re done!
We’re here whenever you need help, with teams of expert plumbers and Gas Safe registered engineers on hand to make one-off repairs and fixes. We also provide plumbing and drainage cover for all the pipes in your home (or property if you’re a landlord), including your stopcock, drains, toilets and tanks – so you can be confident that if anything goes awry, we’re on our way.
It is harder to cut copper pipes and fit an isolation valve than it is to do the same on plastic pipework, but the job is simple. In either case, you will need to cut the pipe with a pipe cutter or small hacksaw – but you can use a modern push-fit valve which is easier to fit.
Yes – it’s a simple job to fit an isolation valve on a plastic pipe because you can use a push-fit valve.
A good way to remember which way to turn isolation valves is that when the valve is open and the water is flowing, the line that the tap handle or the screw makes is in line with the pipe. When the isolation valve is closed and the water is not flowing, the tap or screw will be perpendicular to the pipe, like the arms on a cross.
Our help & advice articles cover Plumbing, Home heating, Electrical, Energy-saving and Home maintenance.