HomeServe USA
 HomeServe Canada
 HomeServe Spain
 HomeServe France
Home maintenance advice
How To Remove a Radiator
18 Apr 2019 • 8 minutes

Home maintenance advice
18 Apr 2019 • 8 minutes
Before you do anything, assemble the tools you’re going to need – there’s only one thing worse than realising you need a towel, or a spanner that you haven’t got, and that’s realising you’ve got the towel, or the spanner, but you put it down just out of reach and now you’re holding a heavy radiator…
1. Screwdriver
2. Pair of tights
3. Metal lubricant spray.
This is obvious but sometimes gets overlooked. Make sure the radiator and pipes are completely cold before you begin work. If you’re decorating in winter, this may mean getting an alternative source of heating in the room while you decorate, such as a portable heater. You really don’t want to be handling boiling water gushing out of a red-hot radiator, but nor do you want to be decorating in refrigerator-like temperatures.
When you’ve removed the radiator, you need somewhere to put it down while you decorate. Ideally, this should be in another room, but if that’s not possible, pick a wall space in the room you are decorating to lean the radiator against. Pad the floor area with towels so that any residual drips are safely caught and don’t ruin your floor. If you’re going to clean your radiator, slightly dampen the top towel in the pile – read down to our top tip 2 to find out why.
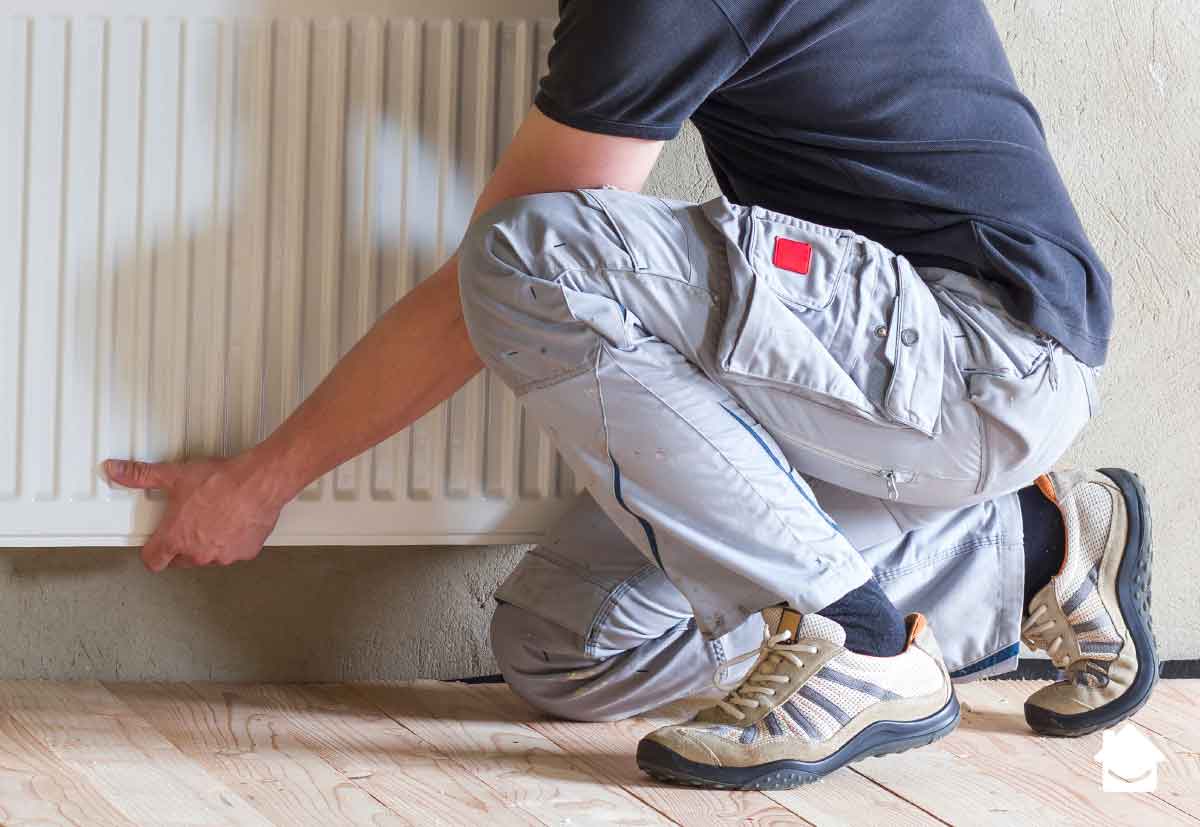
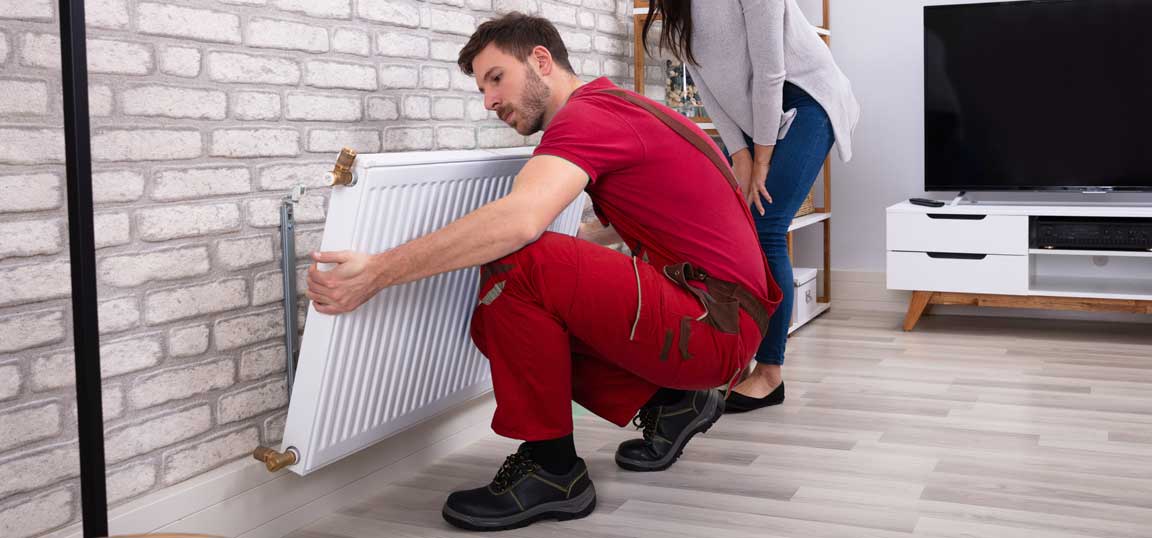
Check how much flex there is in the radiator pipes. Sometimes, especially if a concrete or laminate floor has been laid above existing plumbing, there may be very little room for manoeuvre and in that case, it’s a good idea to get somebody to help you with the removal part.
Lots of homes now have those cute radiator shelves that make good use of wall space, but to be honest, we’ve lost count of how many knocked elbows, banged shoulders and bumped heads we’ve seen when people try to remove a radiator without first taking down the shelf. Take a good hard look at the space you’ve got to work in, and consider using that screwdriver to remove the shelf above the radiator before tackling the radiator itself.
If you have a pressurised heating system there will be a little dial on the boiler, don’t make a note of the pressure in your mind, grab your phone and take a picture. That way, if you have any delays or distractions to the process, you’ve always got a clear record of where the pressure needs to be.
The TRV’s are set to open automatically at a certain temperature. If the temperature in the room drops, the valve could open and cause a flood when the radiator is removed.
There is a valve at each end of the radiator, in modern systems one is likely to be the lock shield and the other the Thermostatic Regulator Valve (TRV) or a wheel-head valve – which is the one with the numbers on that allows you to adjust the amount of heat each radiator generates. The valves turn right to close, left to open, which leads to the old plumber’s rhyme, “Righty tighty, lefty loosey”. Count how many turns to take to close each valve – this is how many turns in the opposite direction you’ll need to take to reconnect them properly.
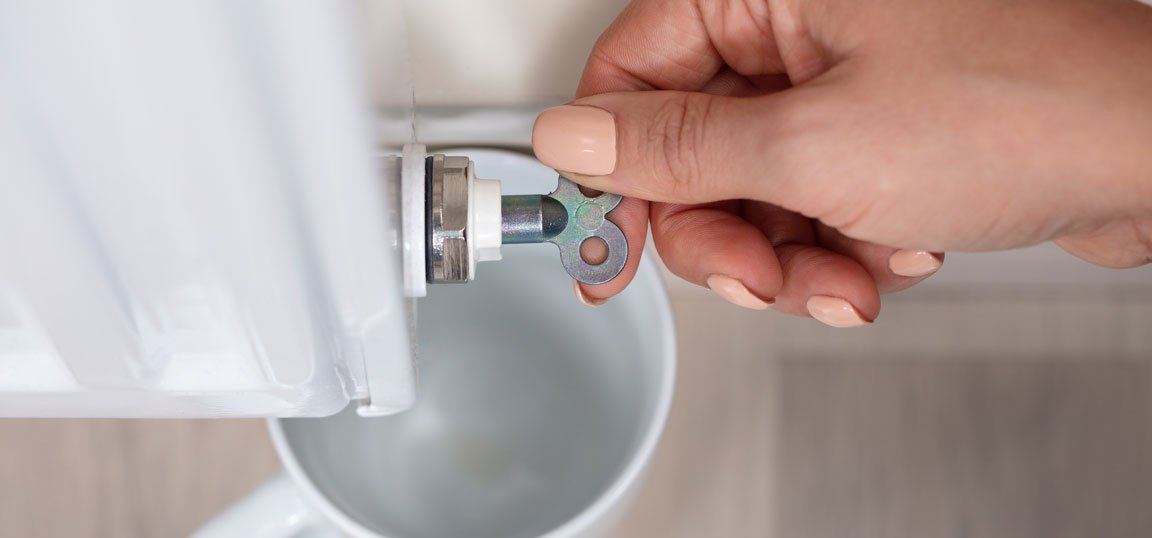
There’s a big nut, probably at either end of the radiator, between the radiator and the valves, and you want the one at the opposite end to the TRV. Pad around the pipe and under the radiator with old towels and have your paint roller tray or takeaway tray handy. Loosen this nut with your adjustable spanner, remembering to hold against the turn to stop twisting the valve on the pipework, then loosen the bleed valve at the top of the radiator with the radiator key and water will start to leak out. Catch it in the tray and tighten the nut when the tray is nearly full so you can empty the tray into the bucket. Loosen the nut to repeat the process until the radiator is empty.
Top tip 1 – just loosen off the nut at the other end of the radiator (where the TRV is, if you have one), but before you do, pad that area with towels and have something ready to catch water. You’ll often find there’s a little water pooled at that end which you need to drain before you lift the radiator, otherwise, it will spill onto the floor.
Lift the radiator slightly up and away from the brackets and walk back a couple of steps, keeping it level, then transfer it to the storage area you’ve prepared for it. Remember that the last water in a radiator can be pretty grungy and black, so when you’re carrying it, you want to be sure that somebody else has that sponge in their hand so they can crouch down and wipe away any drips as they emerge.
Top tip 2 – clean your radiator! If you have those old fashioned radiators or even the modern ‘retro’ ones, you’re probably looking the amount of dust trapped in the radiator with horror. Removing a radiator gives you the chance to undertake a really deep clean. Take that pair of tights and dangle it in between the radiator pipes, then catch hold the dangling end and pull them back and forwards briskly, watching the dust fly! Move along to the next set of pipes and repeat. The static generated by the tights attracts the dust to them, rather than the radiator. Because the towel below the radiator is damp, it will cause any remaining dust to settle so that it doesn’t simply fly back up to the radiator.
Top tip 3 – maintain like a pro. Radiator valves are prone to becoming stuck and can even rust. A suitable lubricant, applied at this point, can save you problems in future with stuck valves. Simply spray your chosen lubricant onto a clean cloth and gently rub over the valve area. Repeat this action with your radiator pipework. As a bonus, if you drip or spray paint onto your radiator pipes, you will find it’s much easier to remove if the pipes are lightly coated with lubricant.

Paint or paper your wall, and if you’re painting your radiator, this is the time to do it. Use specialist radiator paint, which is designed for metal and will resist discolouration at high temperatures. Apply paint when the radiator is cold and allow to dry. Leave painting radiators to the end of the process as you’ll want to re-heat the radiator within 24 hours to ensure the paint cures effectively. Most modern radiators nowadays are stove enamel so painting them isn’t required!
It’s simply a case of reversing the process:
Here’s a sad fact: air and water, when they combine in a radiator, cause corrosion – this makes any radiator less efficient and shortens its lifespan. Plumbers deal with this by adding an anti-corrosion fluid, which is called an inhibitor, to the system. You can do this yourself quite easily, by checking the manufacturer’s instructions for your boiler.
If it’s a sealed system you use an inhibitor cartridge – which you inject through the bleed valve in the top of the radiator. If it’s an open vent system (which means you have an expansion tank or a cistern) you add the inhibitor to the cistern. You can buy inhibitor at any good DIY store and then just follow instructions.
Our Home Experts are always on hand to help with repairs to your radiators, pipes, and more. We have the solution to keep your home up and running all year round.
Our help & advice articles cover Plumbing, Home heating, Electrical, Energy-saving and Home maintenance.