Plumbing advice
How to fit a toilet seat
30 Apr 2019 • 7 minutes

Plumbing advice
30 Apr 2019 • 7 minutes
You’ll need the following tools to fit a new toilet seat:
It’s important to give yourself enough time to fit a toilet seat. While it doesn’t take too long to fit a new or replacement toilet seat, you definitely don’t want people bugging you while you’re taking your time to do this job just right.
Follow these six simple steps to fit a new toilet seat:
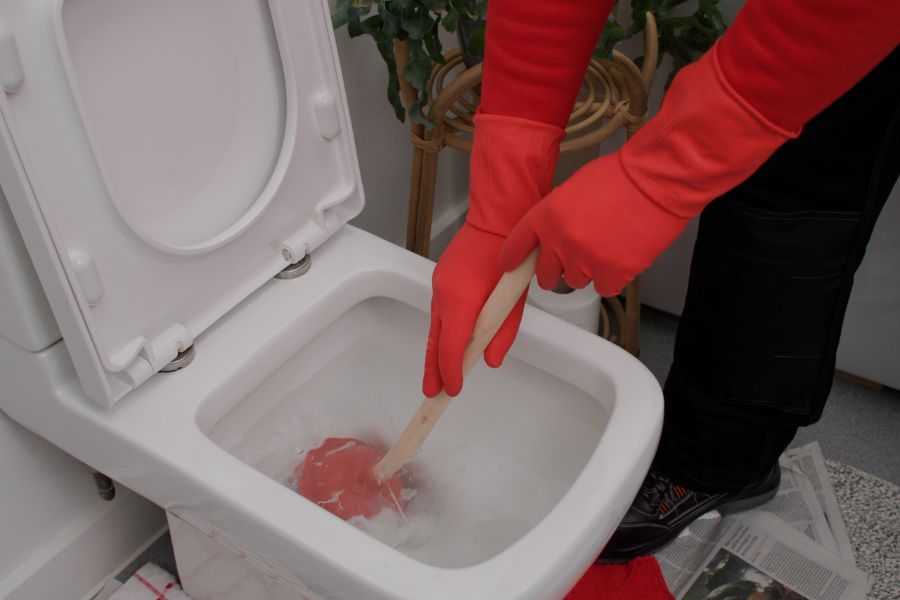
It’s important to make sure that you’re equipped to work in what is a fairly germ-laden area. Using an anti-bacterial spray around the area can blast any of the most common bacteria found in toilets, for example the well known and definitely unloved e.coli, salmonella and listeria – but did you know that ‘hospital superbug’ MRSA can also be lurking in your toilet bowl?
Obviously it’s sensible to wear gloves because that helps to protect you against germs and viruses … but as many plumbers will tell you, it can be problematic to work in gloves because while the thinner ones allow you to feel what you’re doing, they are also very prone to splitting.
Thicker gloves don’t split but they can prevent you using your sense of touch to monitor what you’re doing, especially when you are working by feel. So, at least start the job in gloves and if you have to take them off, coat your hands lightly with a barrier cream such as petroleum jelly, to ‘trap’ any bacteria which you can then rinse off your hands when the job is done.
You need to understand what kind of toilet seat you have. Toilet seats come in round-ended, D-shaped and pointed oval in shape. Before you can fit a new toilet seat, you need to measure the toilet bowl to ensure that your new toilet seat will fit accurately.
The measurements you require are:
This information will allow you to choose a toilet seat that will fit your toilet correctly.
If there’s already a toilet seat in place, you’ll need to remove it. There is a winged nut, or nut and bolt under the side of the pan, usually these days they are plastic but sometimes they can be metal, which often adds to the time required, as metal nuts may have corroded and will need some penetrating oil and a ten minute break to allow the oil to do its job.
Spray the nuts, holding a cloth behind the nut to avoid the penetrating oil coating the entire area with super-slippery lubrication, and leave for a while. Then use your pliers to try and turn the nut and loosen it. Usually this works, but if it doesn’t, we’d really suggest that you consider hiring a professional, as every other way of getting the old toilet seat off is likely to contain a degree of risk.
If you’re lucky and it’s a set of plastic wing nuts, just twiddle them off and the old toilet seat can be lifted out. This is a great time to clean the toilet by squirting the whole area with anti-bacterial spray.
The key tips to getting a perfectly fitting toilet seat are:
Modern toilet seats generally have a bracket, a piece of studding, a washer and a plastic nut. Fit the studding underneath the bracket, slide the washer into place to cushion the nut and then add the nut. It sounds pretty easy, but depending on the location of your toilet and its plumbing, this can actually mean you’re fitting the nut blind.
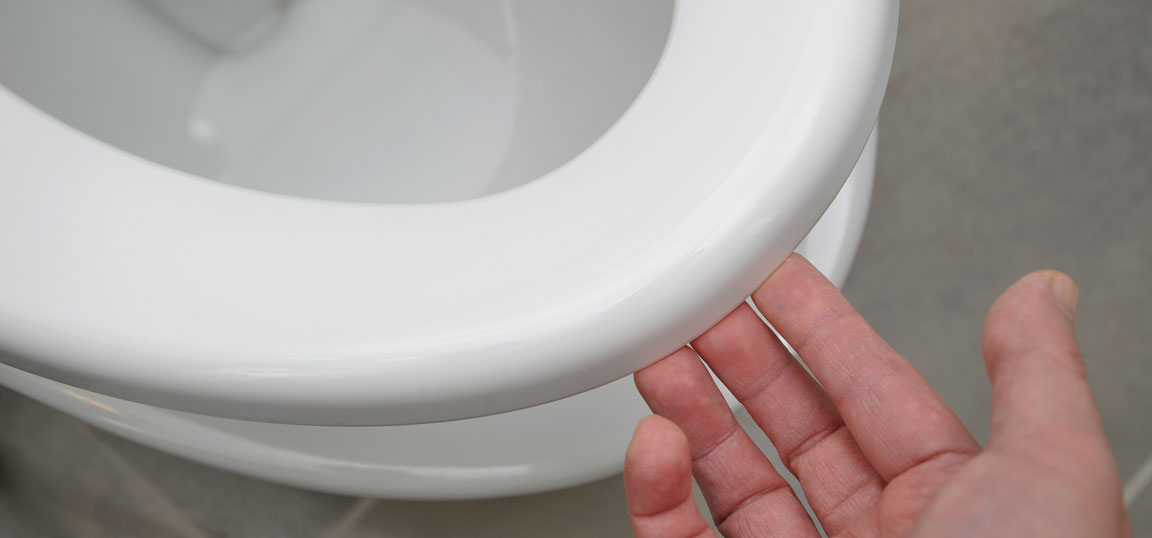
Before you tighten the nut, check that you can lift both the seat and the lid to rest against the cistern, and then lower the seat to check that all its contact points rest against the top of the pan. You can alter the action of the hinges via a locking screw placed below the hinges which passes through the hinge plate. Use it to adjust the hinges then tighten the screw.
For fine-tuning, rotate the hinge plate to allow you to get the fixing bolts into their holes. To move the entire toilet seat either forward or backward so that you can rest the seat against the cistern without falling, you can turn the hinge plates through 180 degrees.
Upmarket toilet seats have a range of holes into which the fixing bolts can be set. While this has the same effect of turning the hinge plate, it allows for finer tuning and a more precise fit.
Because these toilet seats are designed to close slowly, protecting your toilet from the seat banging down, they have special plastic plugs that fit into two holes in the seat, to slow the closure mechanism. The brackets that accompany soft-close toilet seats are specifically for the right or left side of the toilet, so double check you have them in the right position.
Proceed as with the standard toilet seat installation but insert the plastic plugs halfway into the holes and then place a metal washer on the top of each plug and then set the hinge over the top of each washer, inserting the screws into each hold and tightening them with a screwdriver.
Now you can set the toilet seat over the connector that stand up from the hinges and you should find it snaps into place before tightening the screws to ensure the seat is secure.
A raised toilet seat helps older or mobility-impaired individuals to use the toilet more comfortably. They are also really easy to fit.
Begin by lifting the seat and lid of the toilet and then put the raised toilet seat in place so that the higher end is towards the rear of the toilet and the inner ring fits well over the toilet bowl.
Push down in the raised toilet seat to install in the toilet bowl and then measure all the height adjustment clamps to double check they are at the same height. Some raised toilet seats have a clamp that attaches the front of the seat to the toilet pan, just under the rim, so if that is the case, hand-tighten the clamp to secure the front of the raised toilet seat.
There are a couple of other considerations when choosing a replacement toilet seat:
There are two main types of hinges, and two more available add-on features:
There are a number of different finishes and practical considerations to take into account when choosing your toilet seat. Take time picking something that suits your needs and your style. You’ll use it every day, after all.
If you need help with installation and plumbing or any other issues with your toilet not flushing for example, we’re here to help.
Protect your home’s plumbing with HomeServe’s plumbing and drainage insurance. Relax knowing that if there’s a problem we’ll be on hand to keep life moving, so you can get on with your day.
Our help & advice articles cover Plumbing, Home heating, Electrical, Energy-saving and Home maintenance.