Plumbing advice
How to replace a toilet syphon
14 Jul 2021 • 5 minutes
Plumbing advice
14 Jul 2021 • 5 minutes
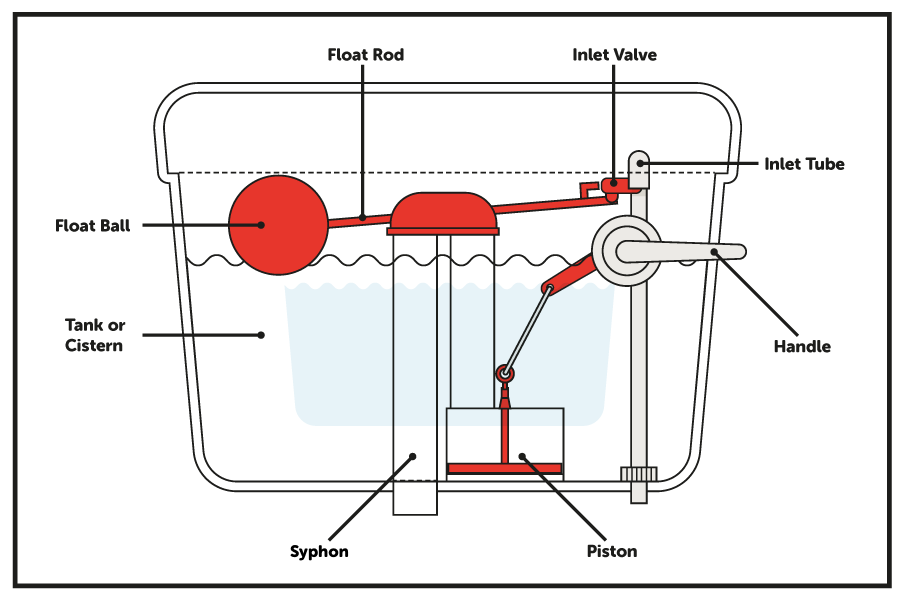
A toilet syphon is a one-way valve, or ‘flap valve’ that’s used to help make flushing easier by boosting the flush, using the natural force of syphoning. This is because the toilet syphon works like a one-way diaphragm pushing water up and down a tube. This creates the syphonic action – the water is then compelled to flow into the toilet bowl, which then means more water is sucked in from the cistern. The syphonic action is then broken when the cistern is emptied.
The issue with toilet syphons for homeowners and landlords is the one-way diaphragm, or flap valve. After years of flushing in a busy household, the syphon gets old and cracks or breaks. The flush starts working intermittently, or not at all, and this is your sign that the toilet syphon needs changing.
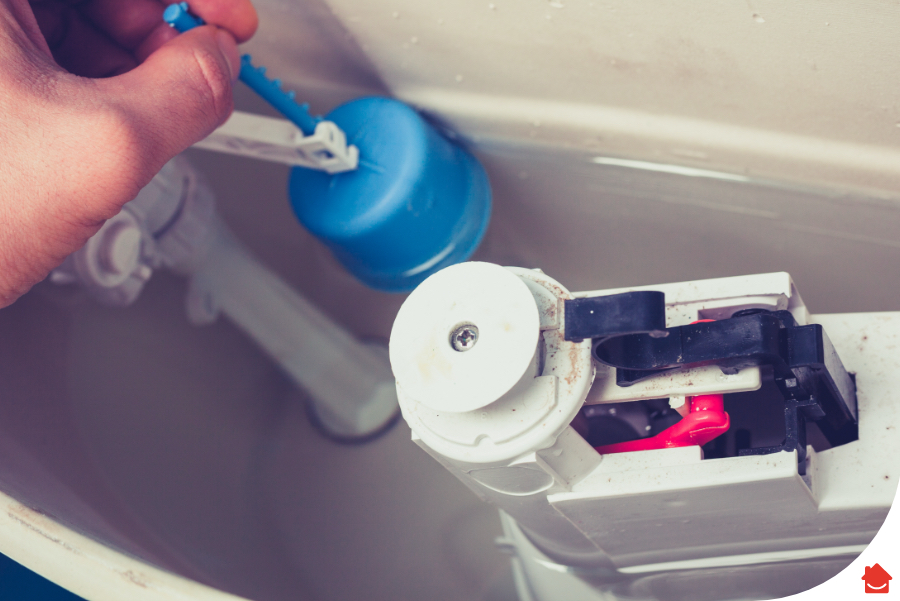
A toilet syphon is a plastic unit that is either in one or two pieces. It contains a pipe, a pull handle and a plastic diaphragm (or flap valve) on the underside. The pull handle connects to your flush handle, so basically when you flush, the pull handle acts as a piston and lifts the plastic flap valve, activating the syphon and sending water down into the toilet bowl.
Replacing your own toilet syphon is quite simple if you’re comfortable getting your hands a little dirty with a bit of DIY.
What you’ll need:
1. Check if your existing syphon is in one part or two – if it’s in two parts, you might be able to split it in order to fix it.
2. Buy the right replacement syphon for your toilet – again, you can buy them in one or two parts depending on what type your existing one is.
3. Isolate the water going to the toilet – you can turn it off locally in the toilet shut-off valve, or turn your water off at the mains.
4. If your toilet still flushes a bit, flush the toilet to empty the water out of the cistern.
5. Remove the lid from the cistern and put it somewhere safe – it’s easily broken if trodden on.
6. If the syphon hasn’t been working at all you’ll need to ladle the water out of the cistern using some Tupperware or another suitable container. To get the last remaining water out, use an old towel and wring it out down the loo bowl.
7. Remove the water supply line that connects to the toilet cistern and the shut-off / isolation valve from the toilet with an adjustable spanner. If you don’t have a shut-off valve then you will need to shut off your household’s water mains for a little while.
8. Now unscrew the nut that connects to the water inlet valve with your adjustable spanner, and also the overflow pipe (if you have one).
9. Unscrew the plastic nut underneath the toilet cistern that holds the syphon to the tank.
10. Unhook the handle hook from the toilet handle and release the old syphon unit. Quickly turn it upside down.
Fit the new syphon (follow the pack instructions foremost)
11. At this stage you can inspect the plastic diaphragm at the bottom of the syphon. You’ll need to unclip it to have a good look. It looks like a mini plastic sheet that fits over the plastic grid inside the unit.
12. You could now insert the new plastic diaphragm into the bottom of the unit and clip it in place.
13. Now re-install the syphon unit or install the new unit into the toilet cistern. Screw the syphon unit plastic nut back on.
14. Tighten the water supply connector with your spanner. When you start to feel resistance, give it another quarter turn to seal the deal and make it watertight.
Well done!
That’ll have you back flushing like nothing ever happened. If you’d like some proper peace of mind when it comes to your plumbing, we offer Plumbing and drainage cover. You can also take a look at our emergency repairs service – and relax knowing we’ll be on our way in a jiffy.
It’s usually a worn-out toilet syphon that’s caused this. All you need to do is replace the plastic diaphragm, or the whole unit. Just follow our easy steps and you’ll be feeling flush again in no time.
You can buy a replacement diaphragm, or the whole unit, and cheaply and quickly replace it yourself, remembering to isolate the water supply, in a few easy steps.
It will take no longer than an hour to replace your toilet syphon, as long as you have the correct replacement parts ready to go.
Our help & advice articles cover Plumbing, Home heating, Electrical, Energy-saving and Home maintenance.