HomeServe USA
 HomeServe Canada
 HomeServe Spain
 HomeServe France
Plumbing advice
How to fix a toilet that won’t flush
18 Feb 2020 • 6 minutes
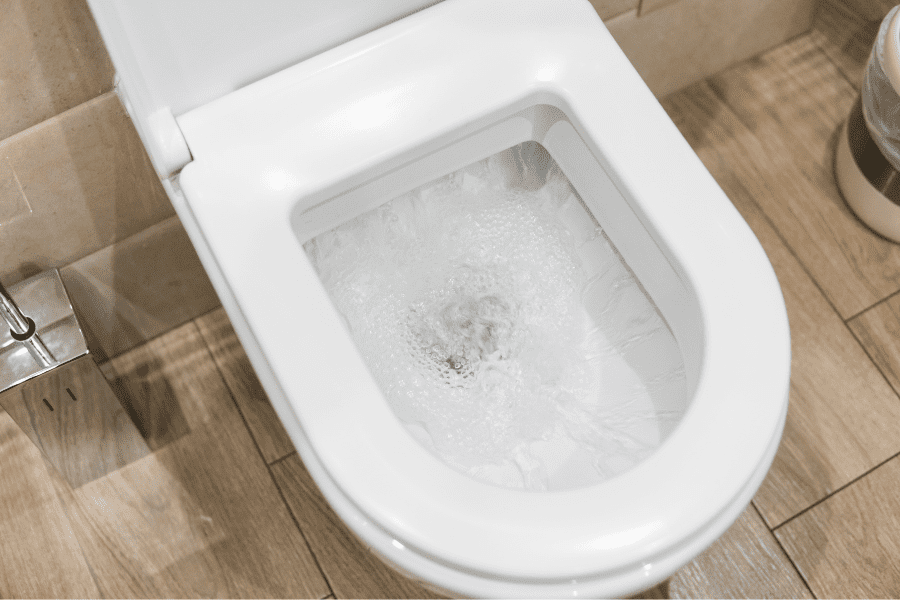
There’s nothing worse than finding out your toilet won’t flush; especially if it’s the only toilet in the house. This common plumbing problem can happen to most toilets at some point. But luckily, there are simple solutions you can do yourself to get the toilet working again.
In this guide, we’ll help you diagnose the most common causes and show you how to fix a toilet that won’t flush.
If the water in the toilet bowl is at its usual level, but water doesn’t flow down from the cistern into it, then the problem lies in the cistern flush mechanism rather than drainage. This means you may have one of the following common issues:
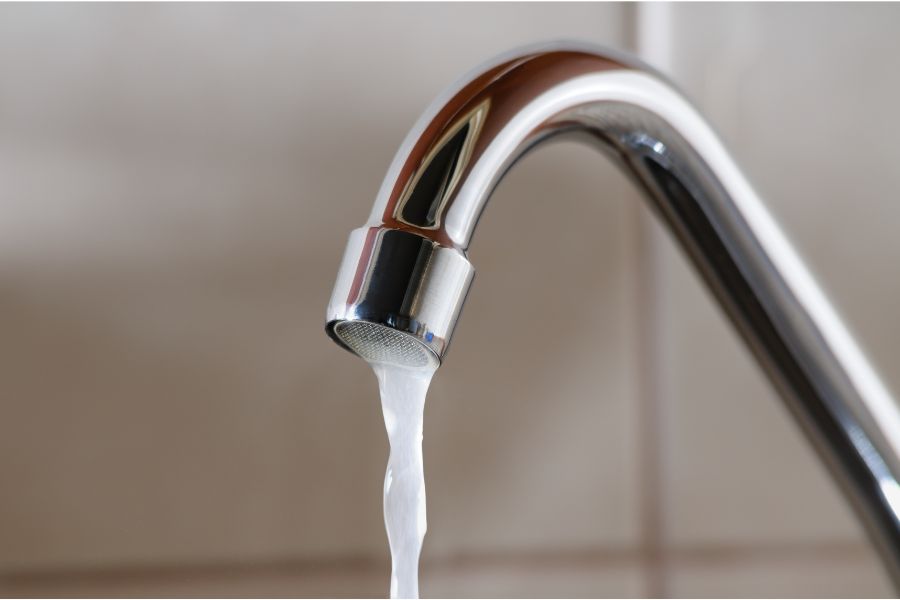
Top tip: Start by confirming your home’s internal plumbing supply is working as it should. Is water running as usual from your taps? Do your neighbours have running water? If not, it may be an issue for your utility supplier.
If the water levels in the bowl are higher than usual and the waste isn’t going down, then the problem is in your drainage and not the flushing cistern.
Drainage problems are usually caused by a blockage in the toilet. Blockages can occur when too much toilet paper is used. Or items that are unsuitable to be flushed, such as sanitary products or baby wipes, are put down the toilet.
If drainage is your issue, read our guide for simple instructions on how to unblock a toilet.
First off, lift the cistern lid to check whether there’s enough water in the tank. Not all cistern lids lift straight off, so be careful when removing yours.
The water level should be approximately one inch below the overflow tube. If it’s lower, check the cistern inlet valve. This is the mechanism that controls the level of water in the tank. The cistern inlet valve could have one of the following problems:
Top Tip: If you don’t hear the sound of running water when you flush, it’s likely that the mechanism is the root of the problem.
There are many reasons why your toilet flushing mechanism may not be working. One of the most common problems is the cistern inlet valve. Discover how to replace a cistern inlet valve, also known as a toilet ball valve.
In a traditional toilet, the flushing mechanism is visible in the cistern. It’s attached to a metal link that’s connected by a trip lever to the flush handle.
In a syphon toilet, there is a diaphragm located inside the syphon. To check if this is the problem you’ll need to inspect it; on some models, you can simply remove the locator pin and pull up the top section of the syphon. This will give you access to the diaphragm for inspection and replacement.
Replacing a syphon can be a reasonably big job. If you’d like to learn how to do it yourself, follow the instructions below. Alternatively, contact HomeServe and we will put you in touch with a professional.
You will need:
Top tip: If your flushing mechanism needs replacing, start by removing it and taking it with you to the DIY store, to allow you to match the size correctly. Or, if you’re tech savvy, you could use platforms such as Google Lens to identify your flushing mechanism.
The toilet flush handle is the lever on the outside of the cistern that you press to flush the toilet. Inside the cistern, it’s connected to a trip lever and link that operates the flushing mechanism when you press the flush handle down.
A faulty or broken flush handle is probably the easiest problem to diagnose. The handle becomes either too loose or too tight, which stops it from connecting with the link and flushing mechanism. Sometimes, it can be fixed by simply tightening the mounting nut at the back of the handle.
The handle may also have become stiff due to a build-up of limescale. If this is the case, it just needs a good clean. But if the handle is completely broken it will need to be replaced.
Watch our video to learn how to replace a broken flush handle or read on for instructions.
You will need:
Top tip: Take your old flush handle with you to the DIY store when purchasing a replacement so you can make sure to get the right size.
The link runs from the trip lever (connected to the flush handle) to the bottom of the cistern where it’s attached to the flushing mechanism. When it’s working correctly, the link pulls the flushing mechanism open when the flush handle is pressed, allowing water to flow from the cistern into the toilet bowl.
We know it’s inconvenient when your toilet flush is broken, but as you can see, the most common problems can be easily fixed, and reasonably inexpensively. All you need is a little know-how and a spare hour.
If you find that your toilet still isn’t flushing, contact HomeServe for assistance.
Don’t let a burst pipe or blocked drain slow you down. Take out plumbing and drainage cover and get access to a nationwide network of trusted engineers.
Our help & advice articles cover Plumbing, Home heating, Electrical, Energy-saving and Home maintenance.